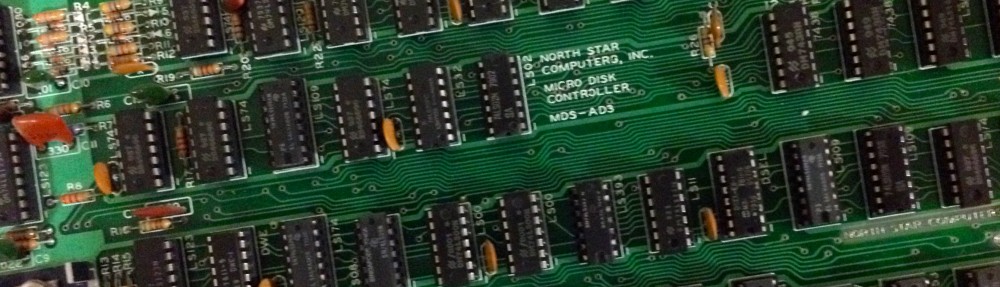
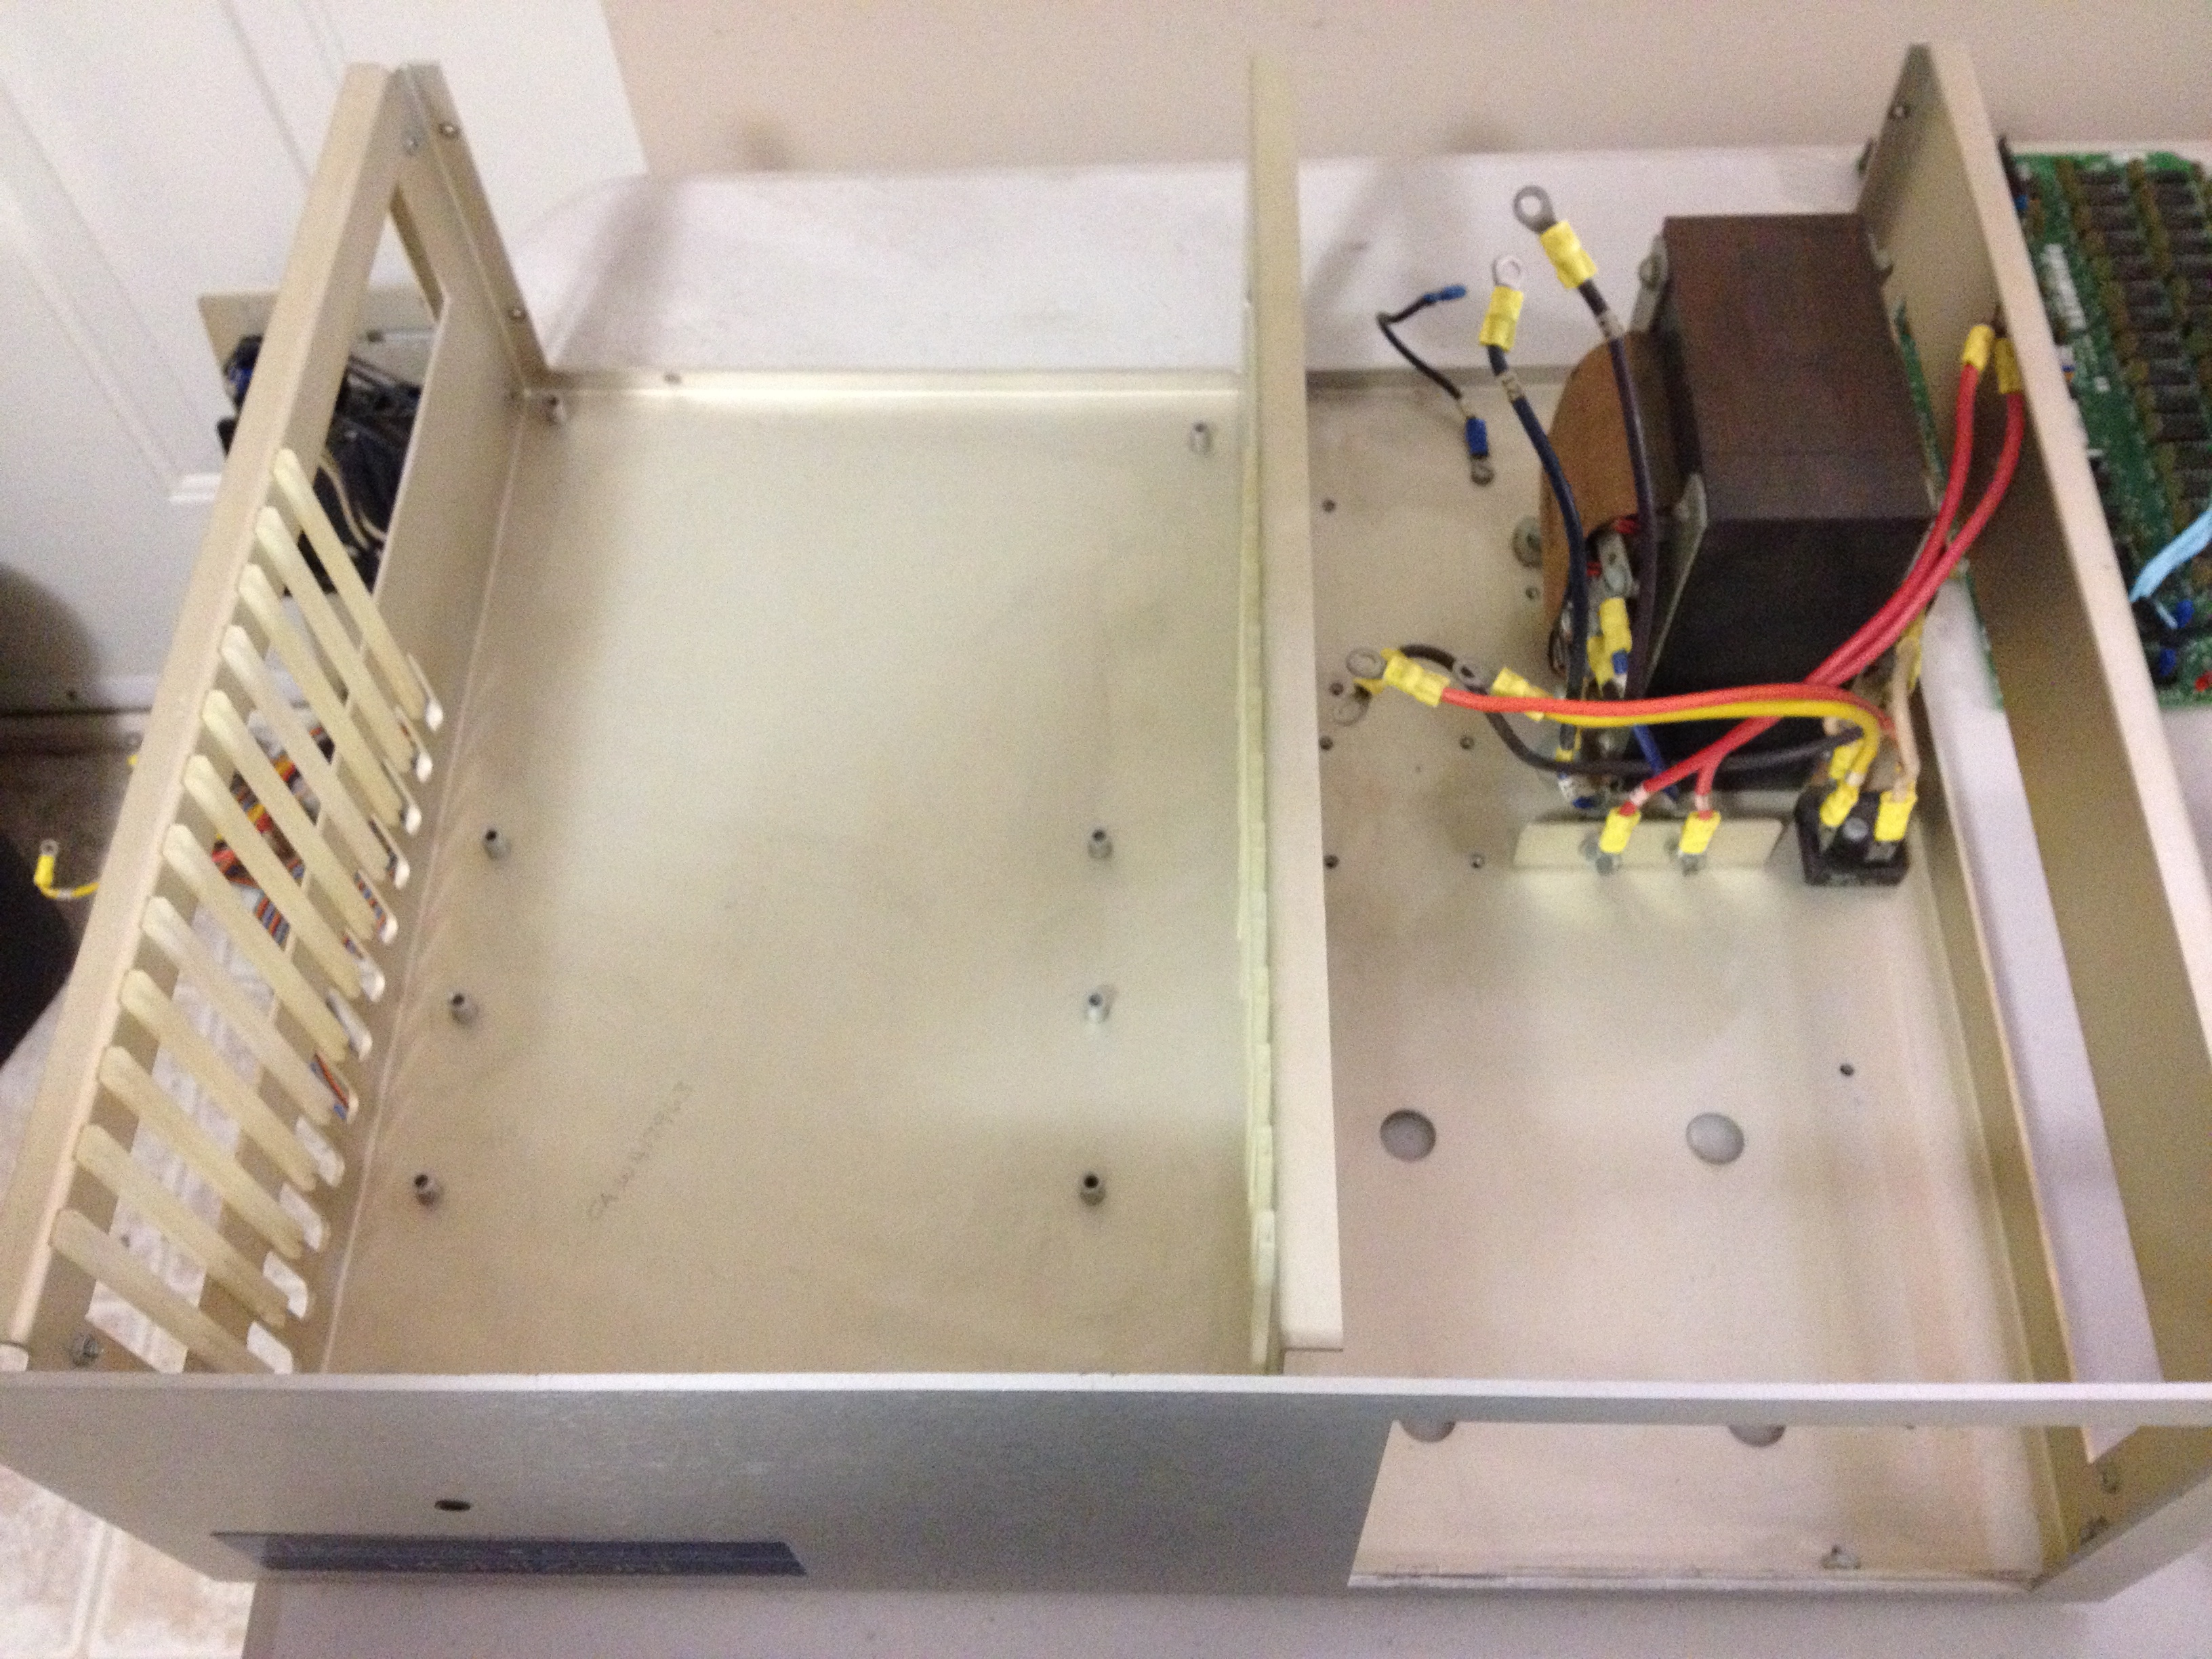
 After reconditioning the capacitors and cleaning out the chassis, I continued working on the power supply. There’s actually very few components, so it was pretty easy to check. The bridge rectifier and two rectifier diodes were a simple matter of testing with a multimeter. The transformer was tested for open or shorted windings. After cleaning and re-assembling the back panel, I noticed that the fuse holder wasn’t closing correctly. A quick examination showed that one of the metal fuse contacts was broken. A quick rummage around my junk pile found a suitably aged replacement.
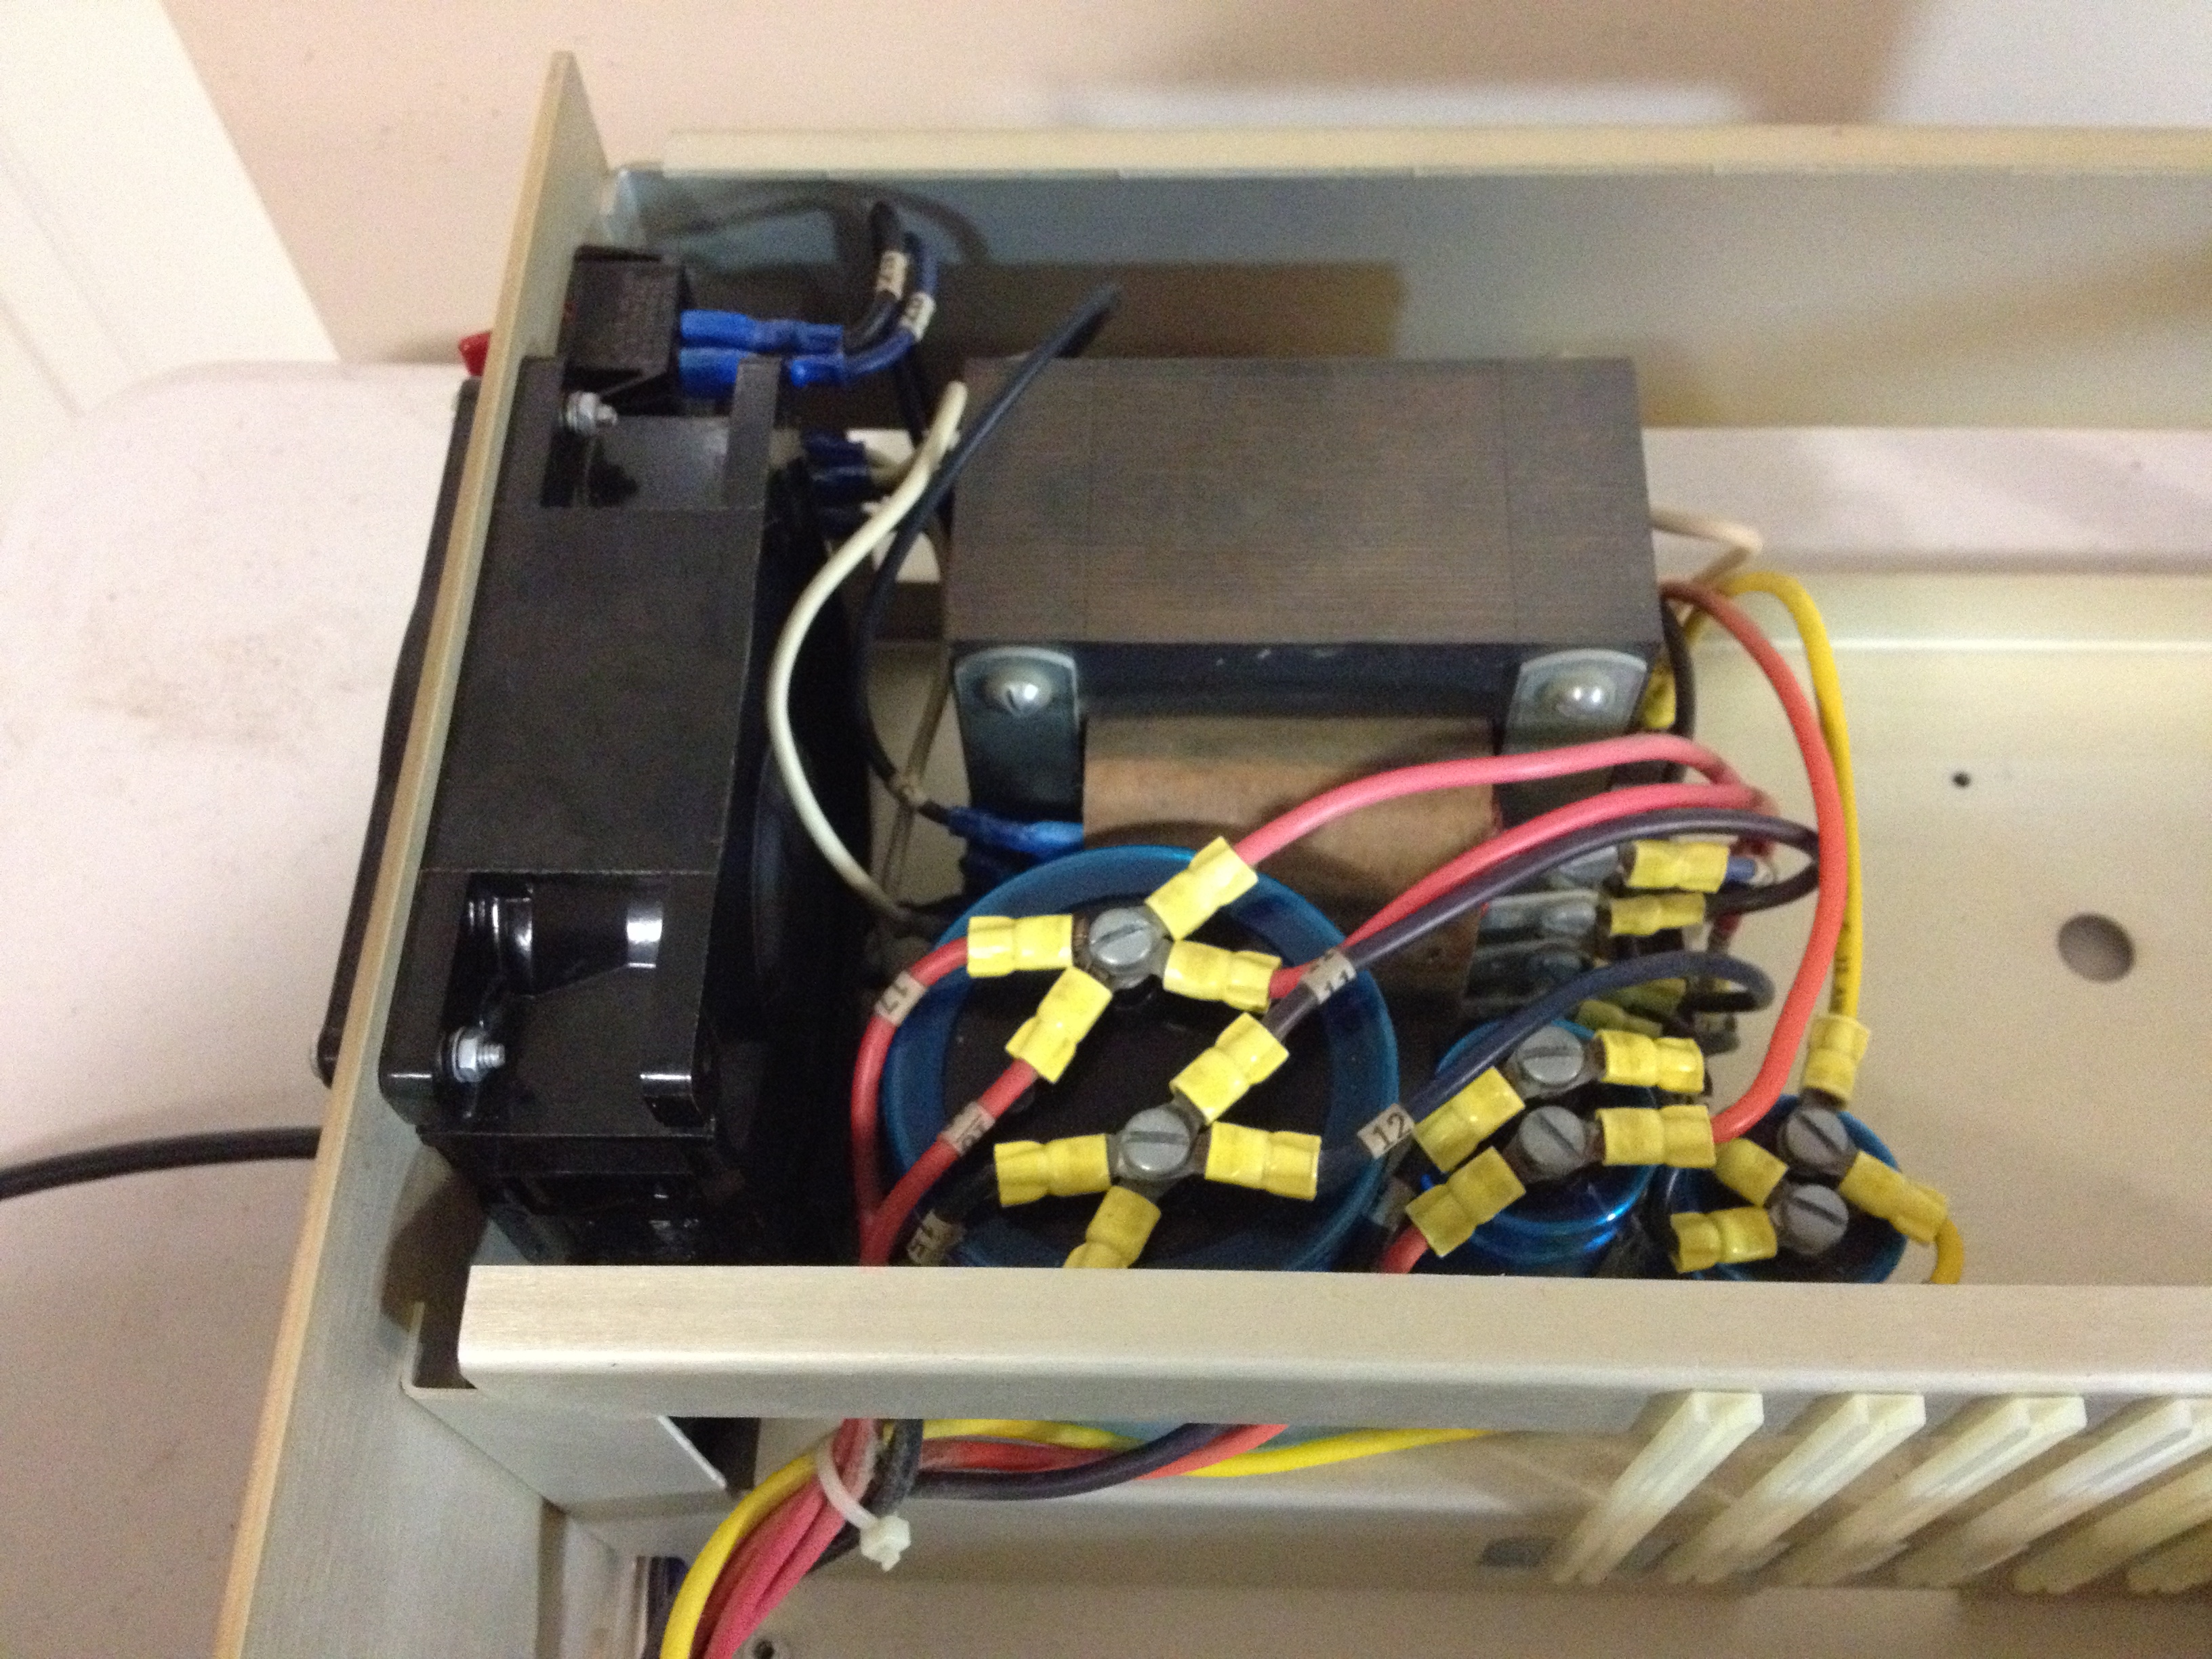 I reinstalled the capacitors and it was time to apply power. No smoke! All three power rails came up beautifully. The fan – an item I was sure would need replacing – is remarkably quiet and smooth running.
The icing on the cake for this part of the project was getting the front panel LED mounted correctly. The original plastic clip that held the LED in place was broken. Fortunately, I had some very similar LED clips in my parts bin, so with a little bit of gentle persuasion I was able to get the new clip installed.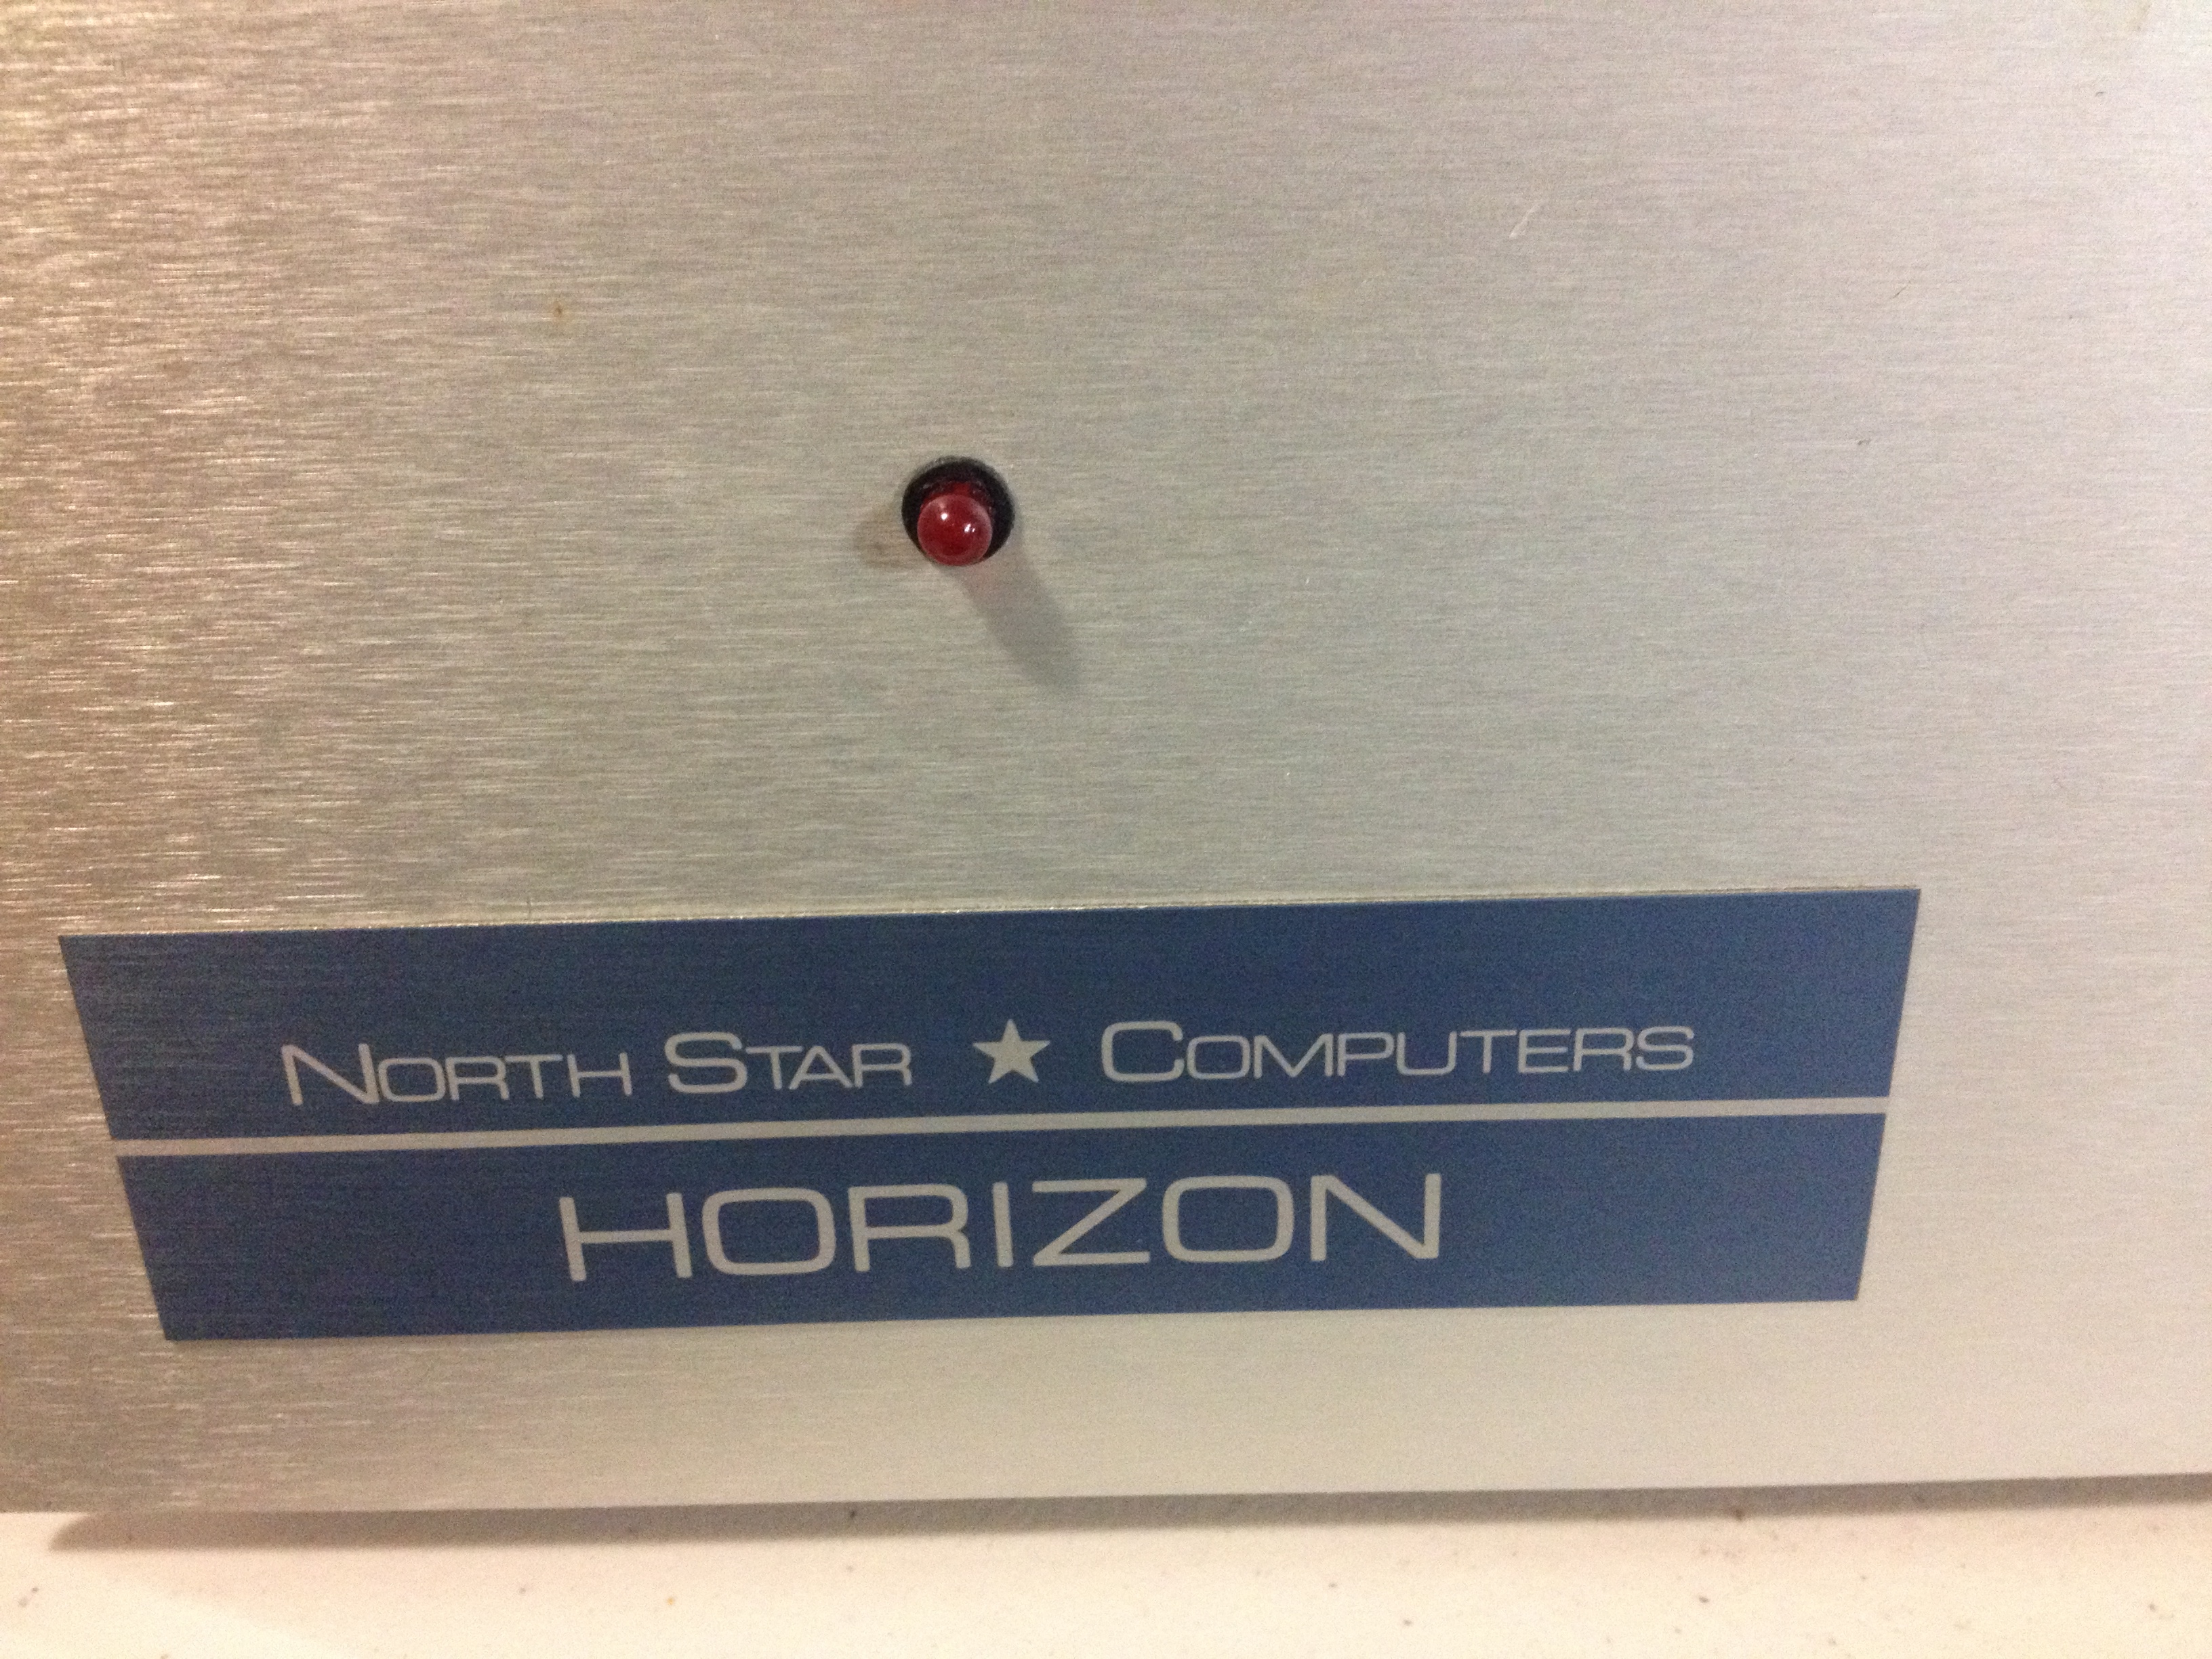 I’m suspecting that over the period of 36 years, the industry standard sizing for LED packages may have become ‘metrificated’ (I know it’s not a word, but I’m owning it) so it was a little bit of a tight squeeze, but it’s in there and it looks beautiful.