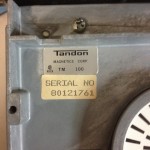
 My NorthStar Horizon came with two Tandon TM100 floppy drives. As I mentioned previously, these were jumpered for drives 3 and 4. I don’t have any other drives to plug in to this system, so I need to re-jumper these for drives 1 and 2.
Even though the service manual is easily downloadable from the net, I don’t have an alignment floppy disk, so I needed to be careful disassembling and cleaning those drives. I took great care not to take apart any assembly that would alter the alignment of the heads or the track 0 sensor. This limited me to basically removing the circuit board to gain access to the mechanism below.
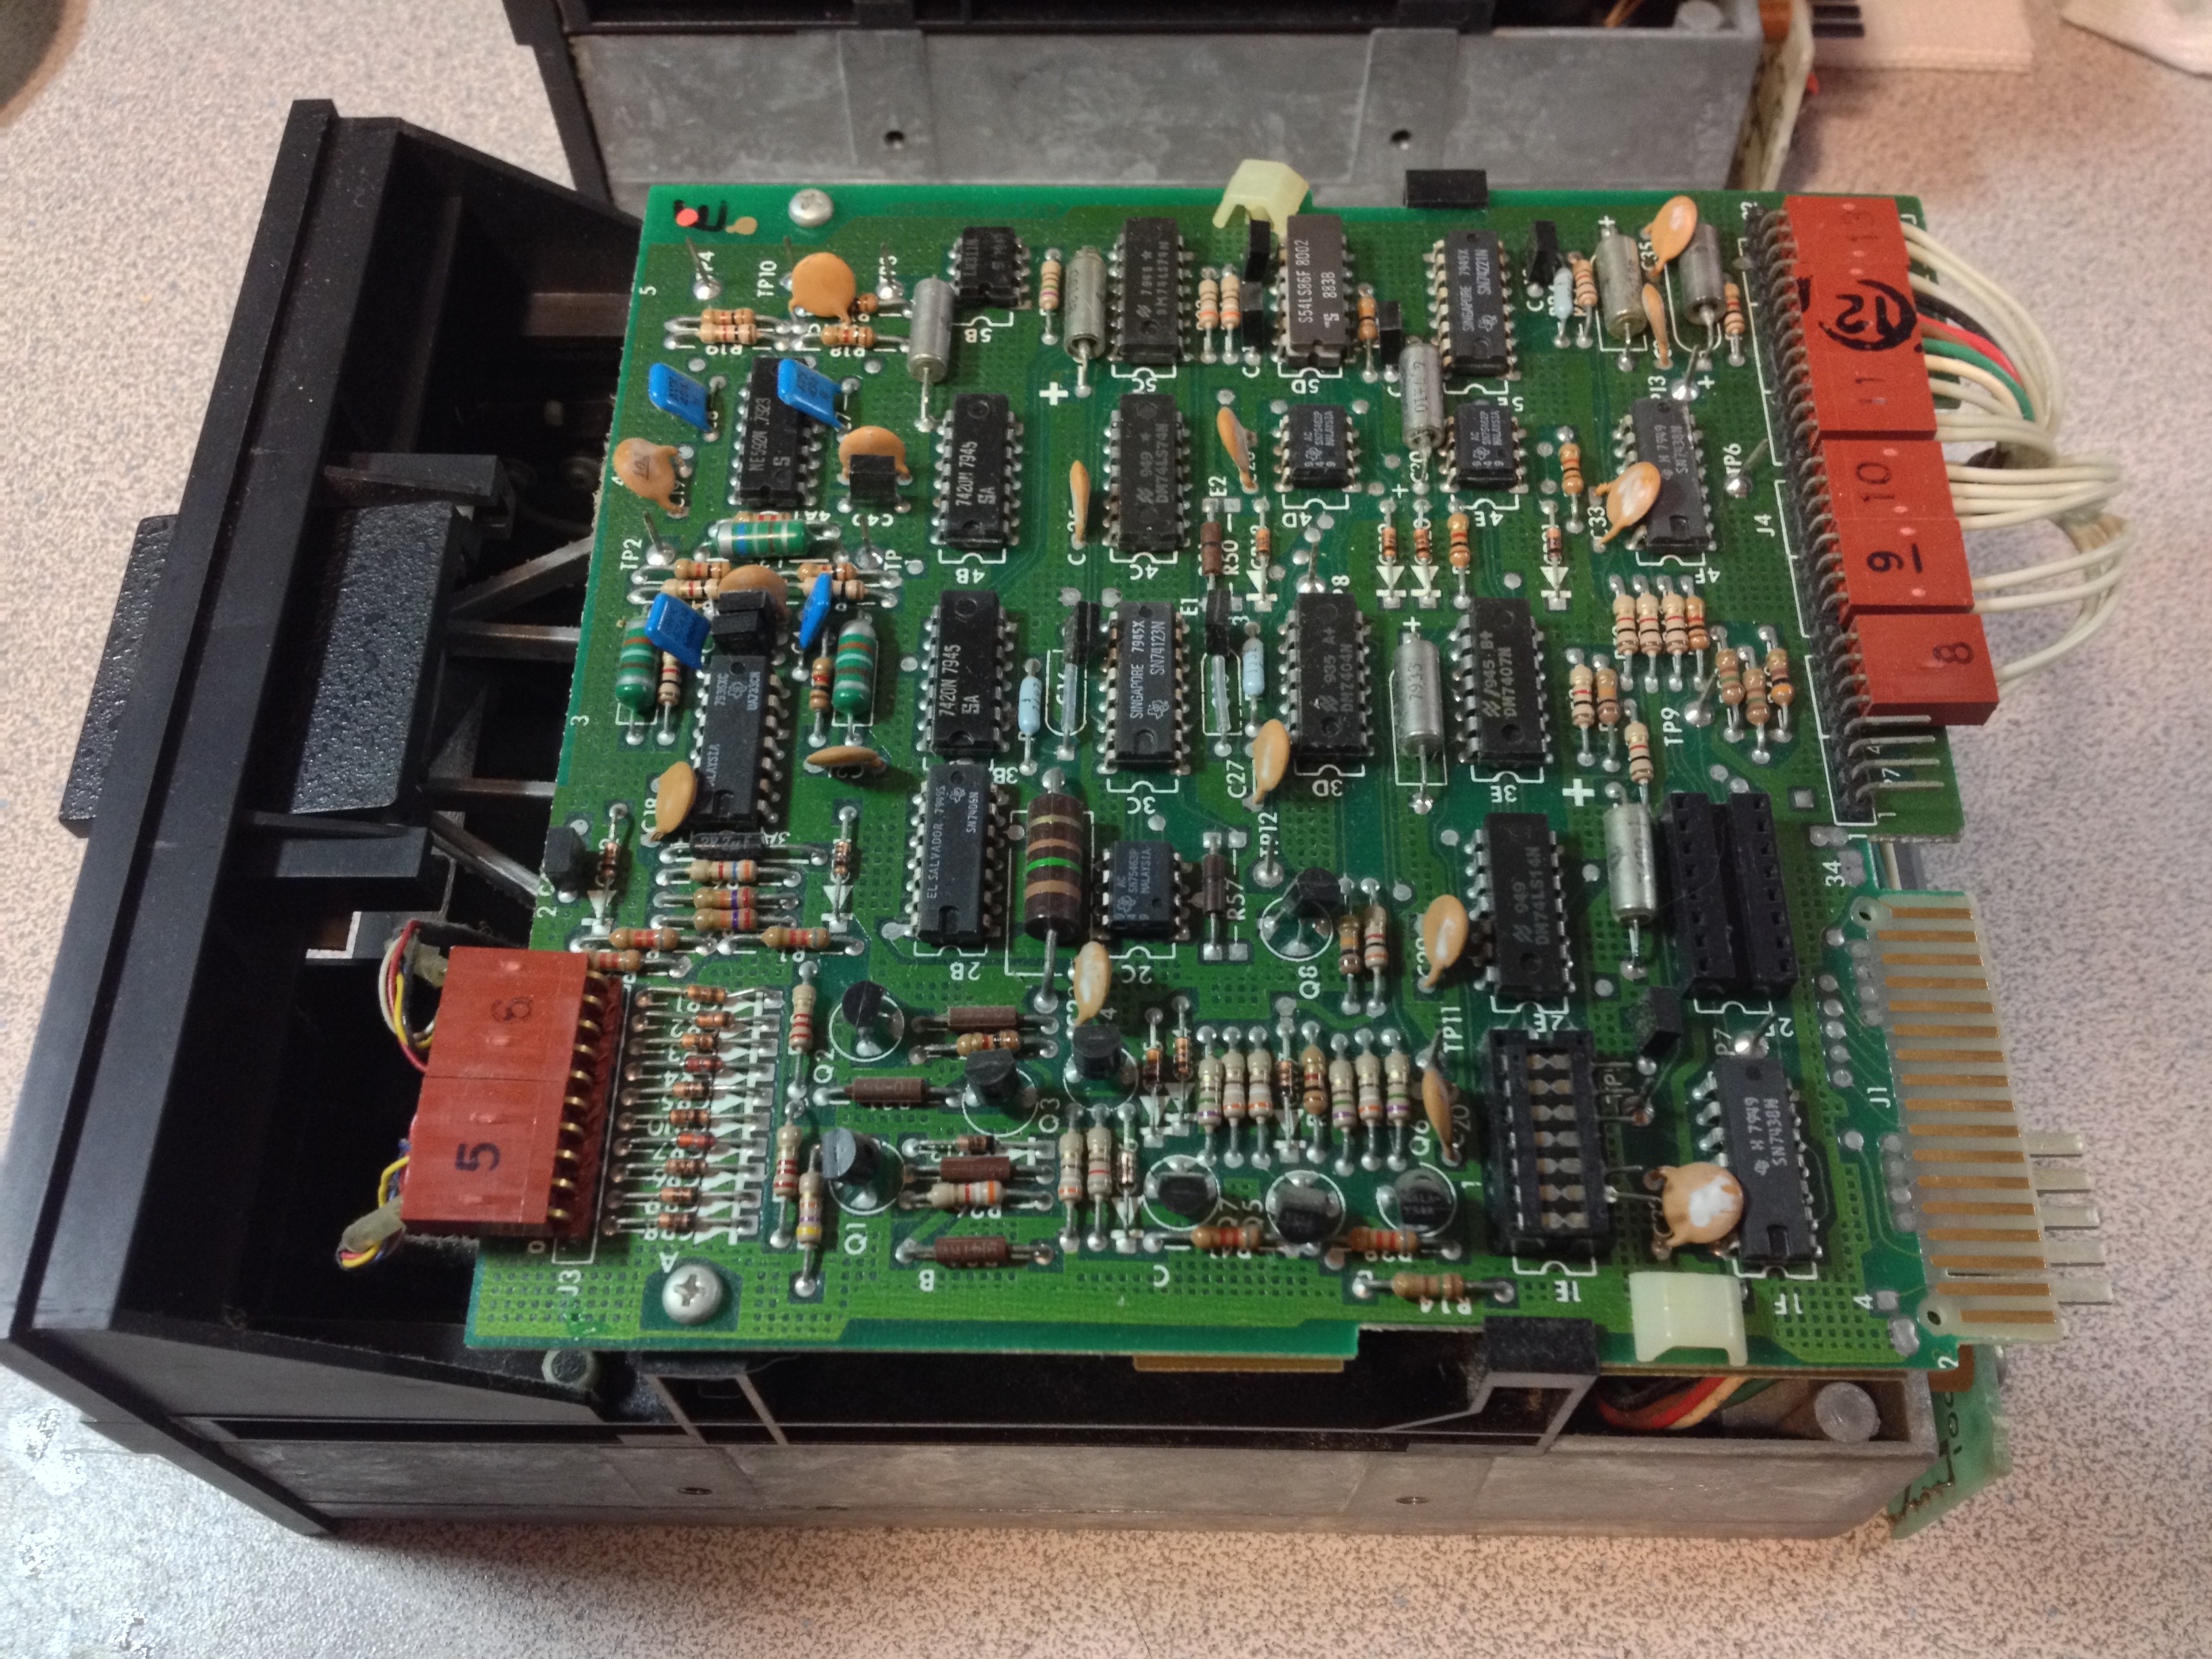
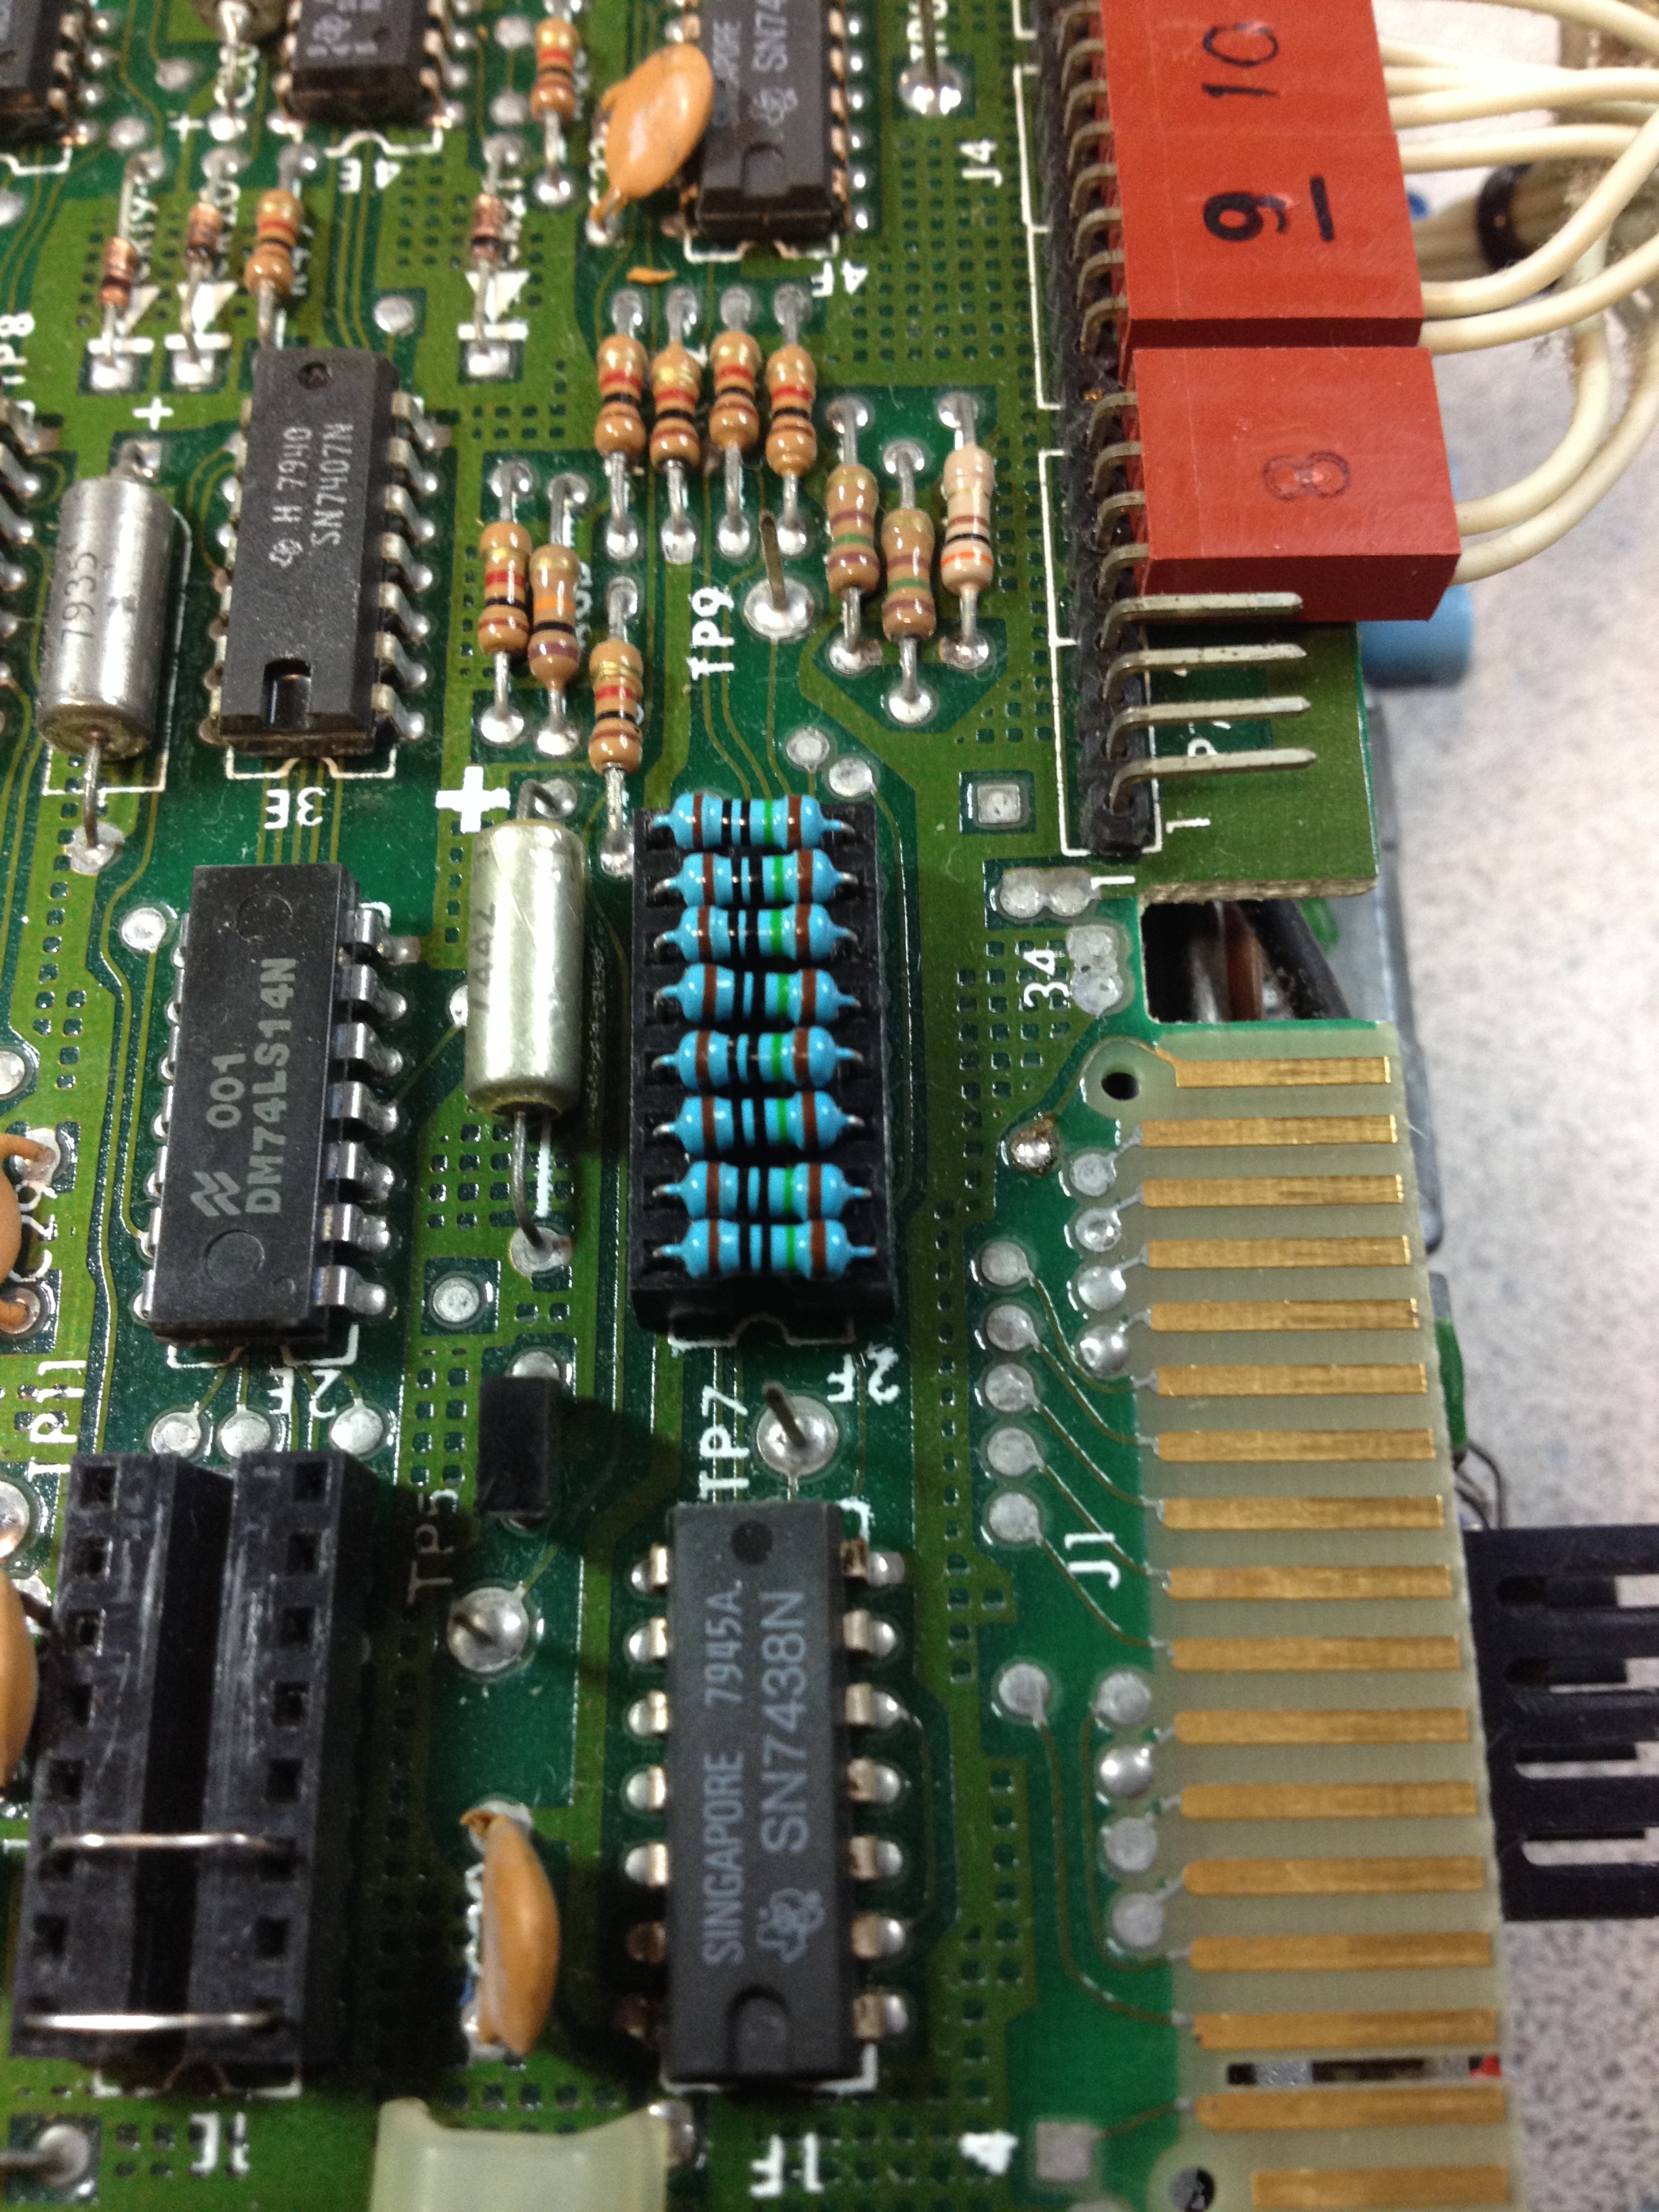
 The floppy drives were in remarkably good condition. The belts are snug, with no signs of slipping. The circuit board was in good shape. I removed the strange ID4 add-on wire (mentioned in an earlier post) and returned the jumpers to ID1 and 2. I had no terminator resistor pack, which needs to be installed in the last physical drive in the chain, so I had to manufacture one. The service manual mentioned a value of 150Ω so I grabbed some 1/4W resistors, cut them to length, and inserted them into the terminator socket. The on-board electrolytic capacitors were checked for tolerance and ESR, and all passed. I couldn’t locate any tantalum capacitors (good).
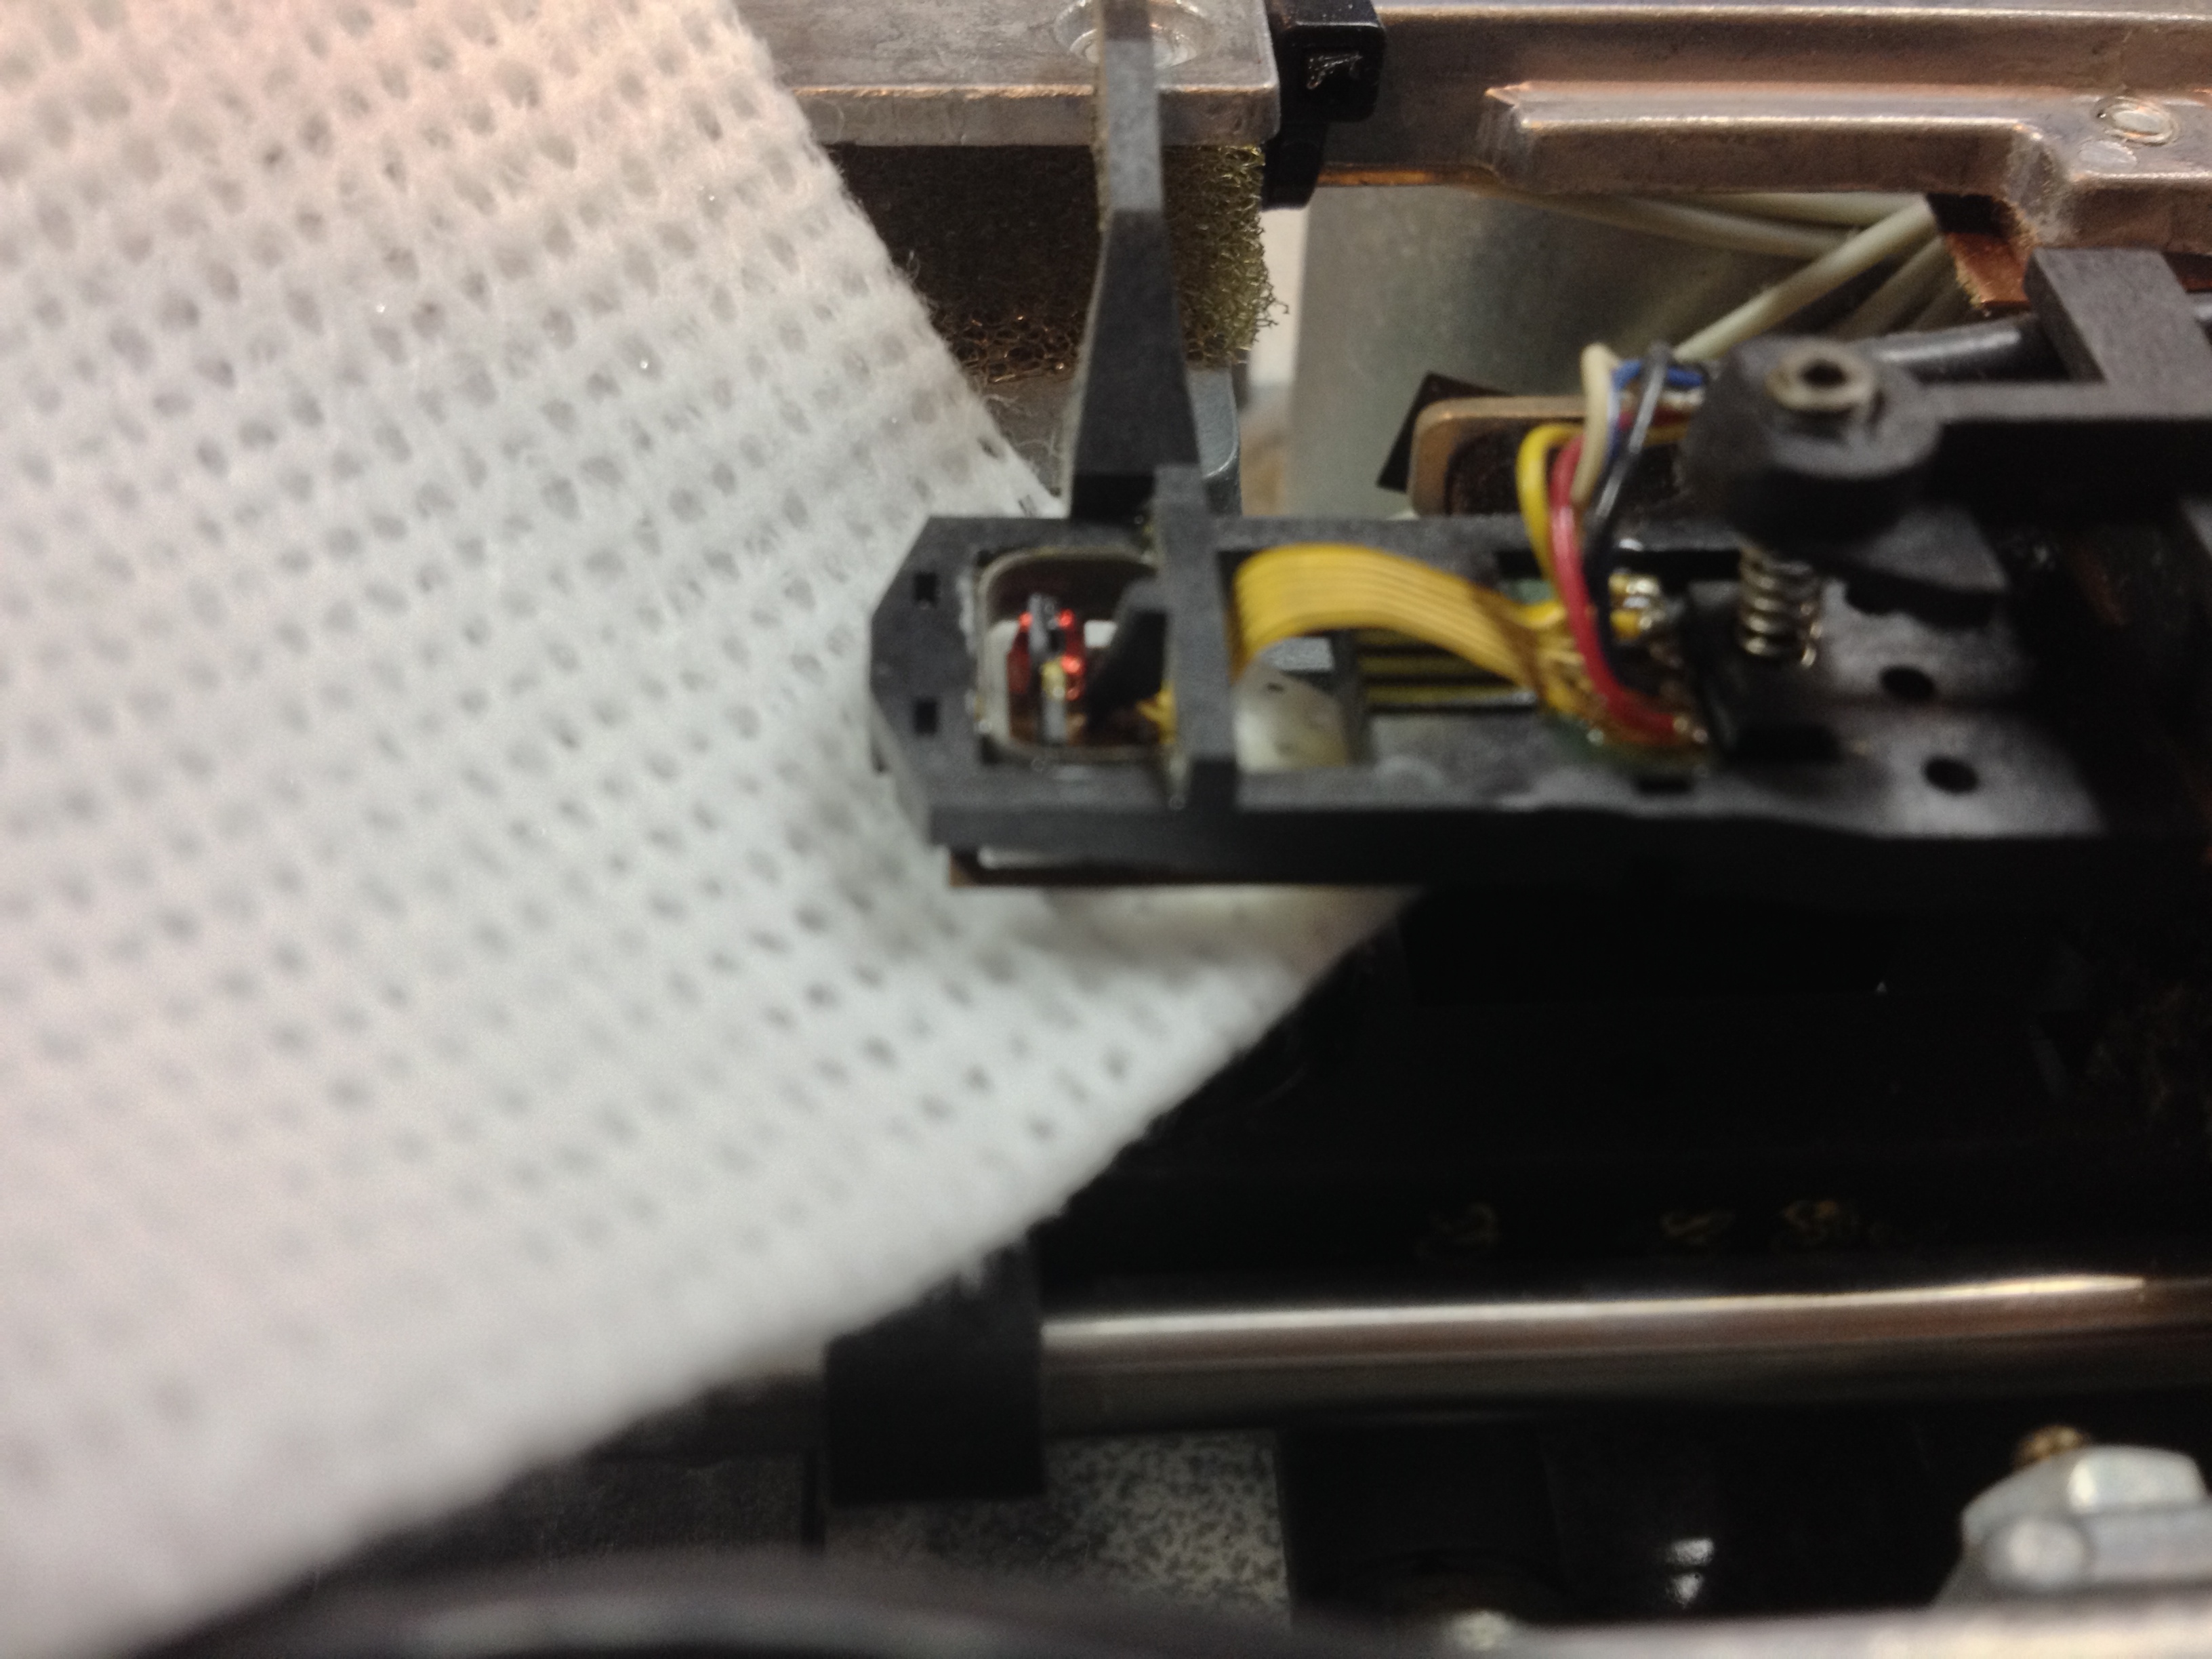
 The drive rails were in good condition, but needed a clean and some lubrication. The heads had a bit of oxide build-up, so had to be cleaned. I placed a lint-free wipe soaked in isopropyl alcohol in between the two heads, and closed the mechanism so the heads pushed up against the wipe. The bottom head is a nice solidly mounted head that I’m used to seeing in 5 1/4″ drives, however the top head was a very delicate unframed head held in place with a fragile-looking spring mechanism. Any lateral force (such as pulling the wipe sideways) would possibly bend this mounting mechanism, so I had to be careful. Several open-close motions cleaned the oxide buildup from the heads quite well.
 After re-assembling the drives, I powered them up using a current-limited supply, to make sure there were no shorts. Everything looked good, so it was time to mount them back in the case. It took me a little while to determine NorthStar’s factory placement of drive 1 and 2, but after some digging, I was able to find out that drive 1 was the right-most drive (not what I would have guessed, but I’m trying to be authentic).
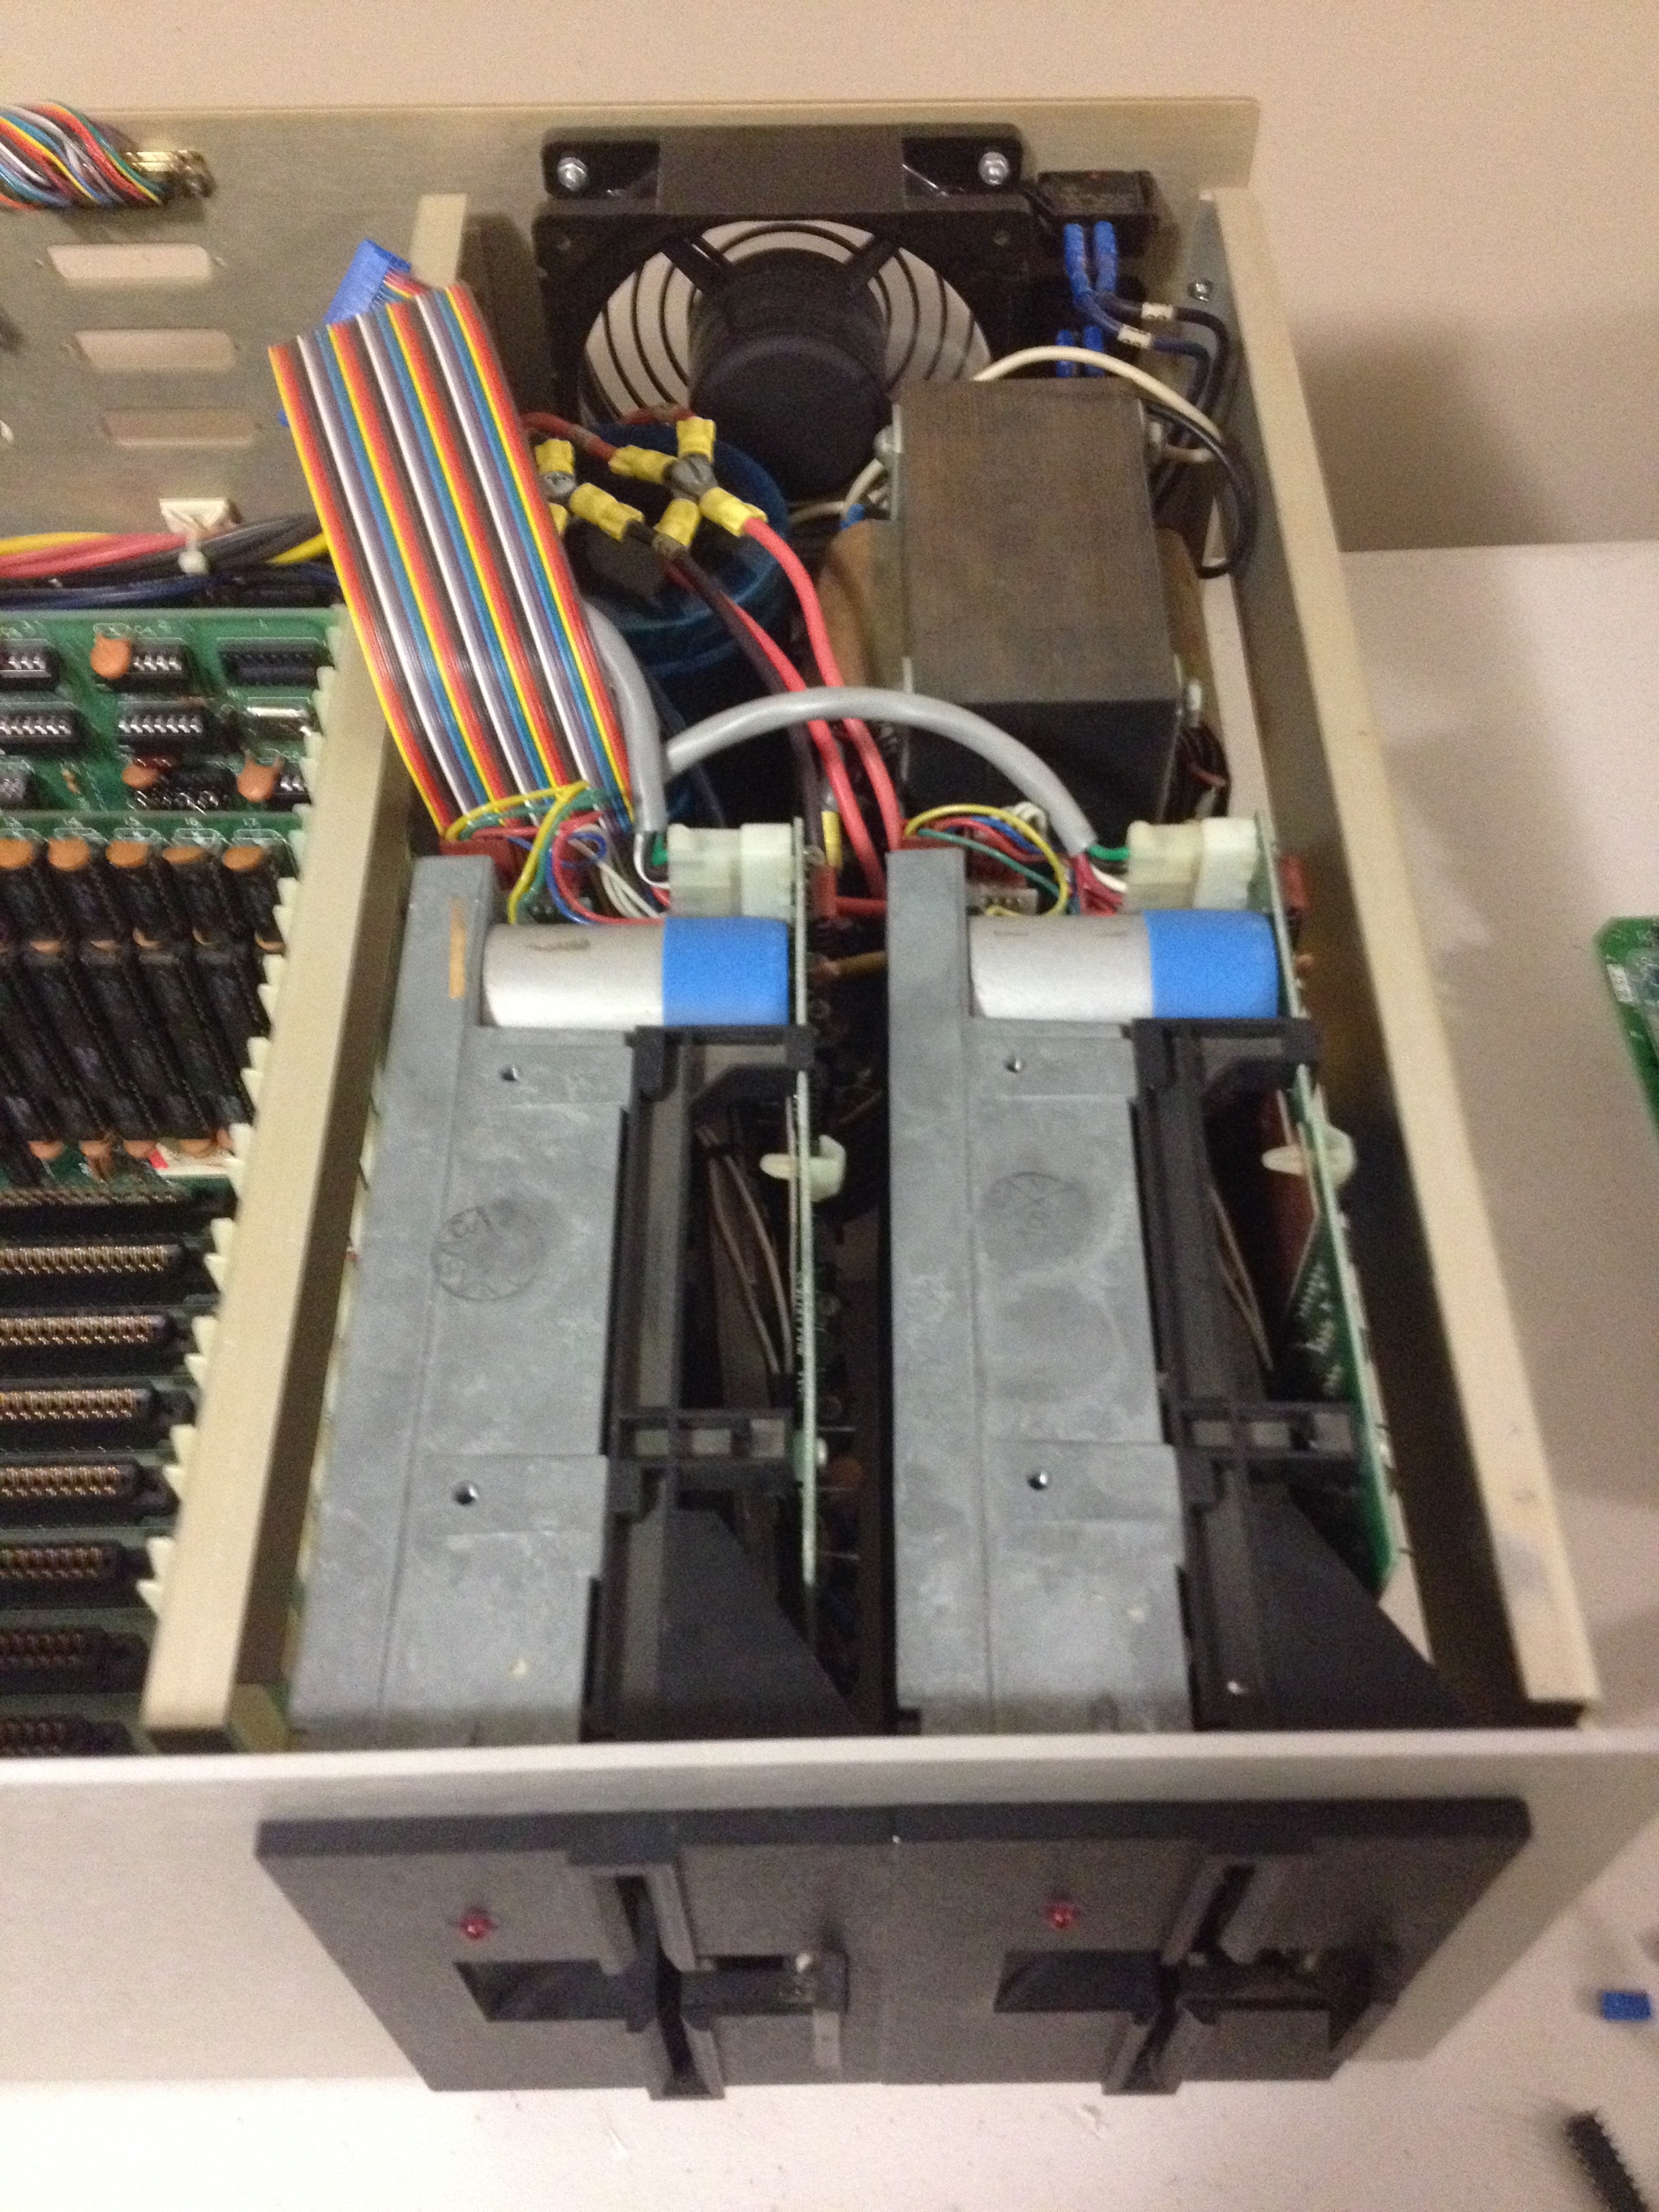 For such a spacious case, the floppy drives are quite a squeeze, and it was a careful dance to get the drives partially in place, then the power and data cables connected, then sliding the drives all the way in. I learned the hard way that this procedure had to be performed with both drives at the same time, after many attempts at doing the drives one at a time.
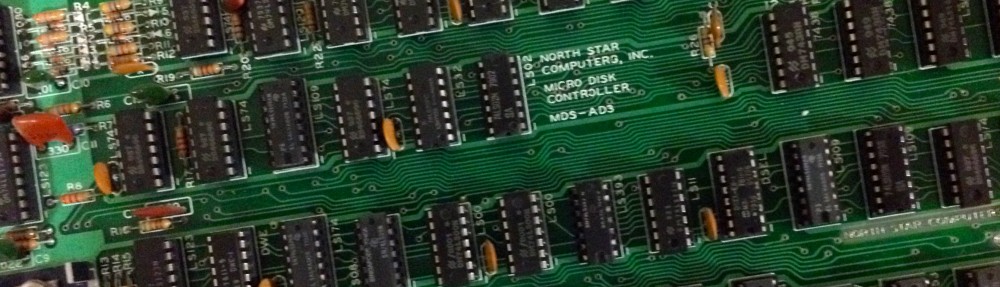
The machine is really starting to look like a real computer now. Once I get the floppy controller back in, I should be able to attempt a boot!