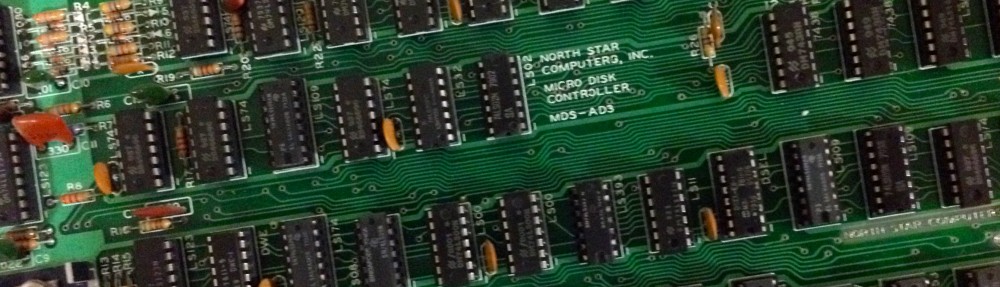
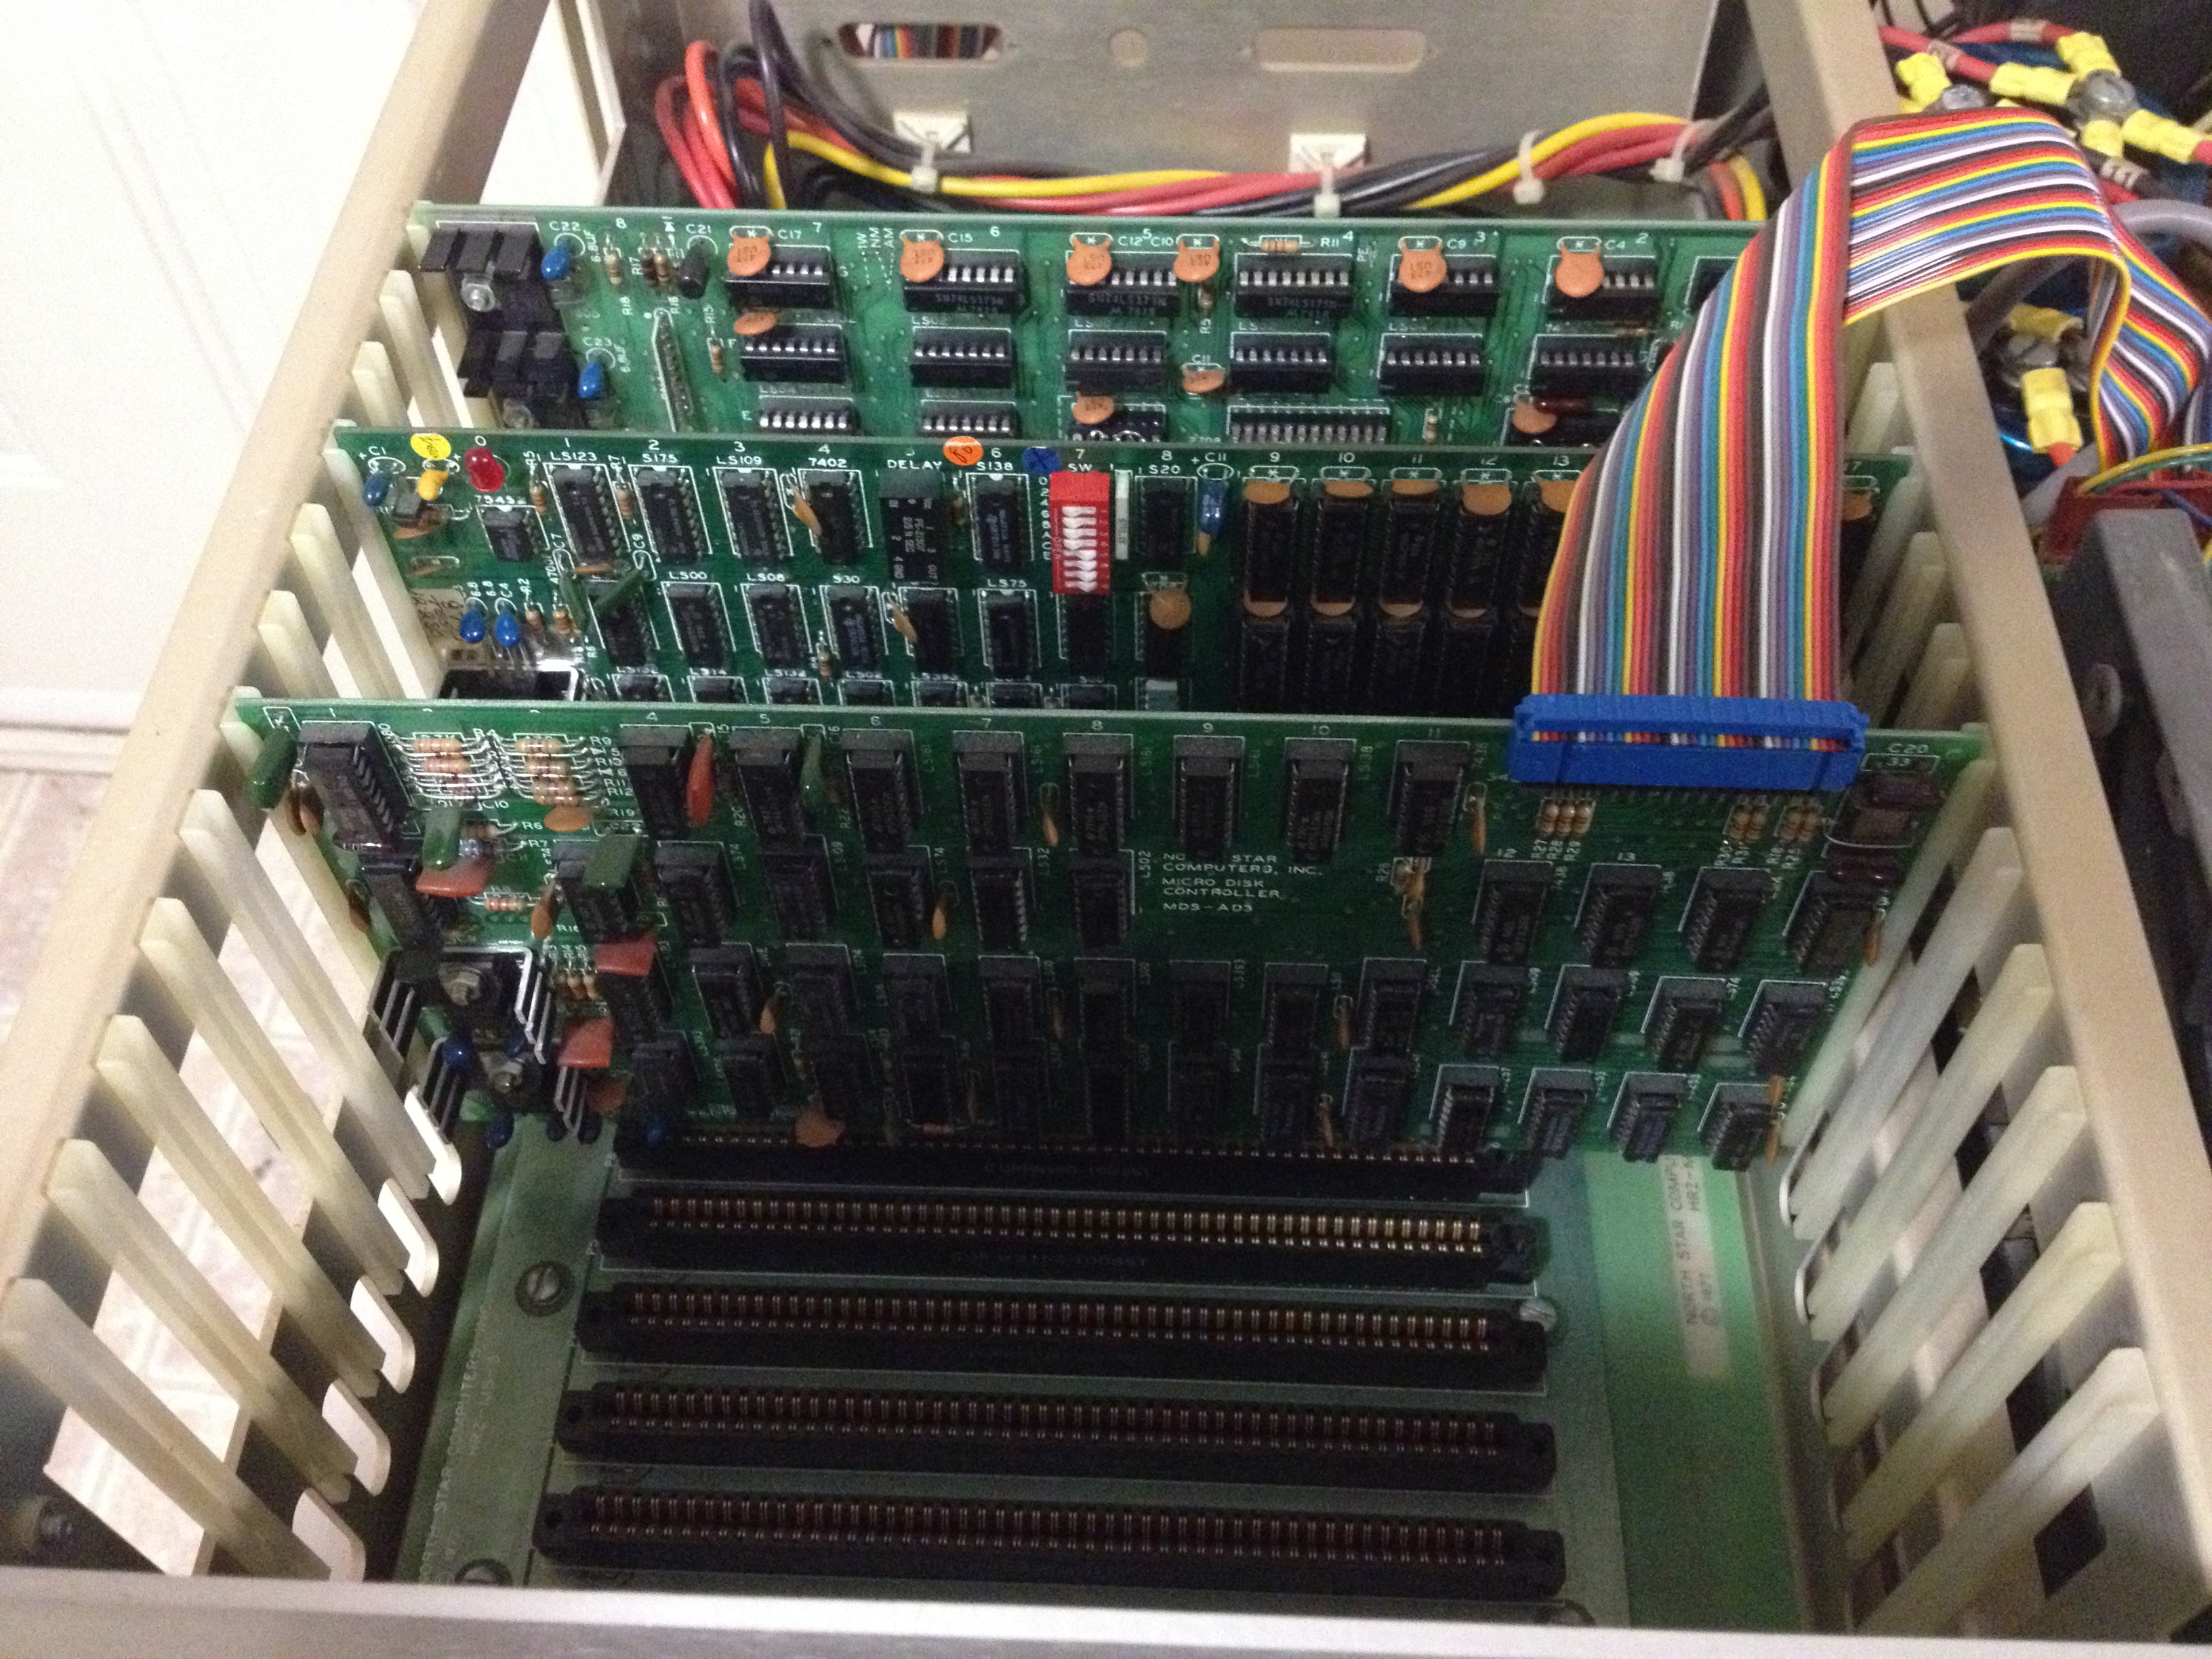
 One last board left to make a basic working machine. The disk controller board was completely socketed, so I removed each chip one at a time and used the glass pen to clean corrosion off of the pins. All capacitors tested okay, and a current-limited power-up proved successful. I placed the board in my machine, and I was able to see the boot ROM at address E800 visible from my monitor. Then it was time to plug the floppy drive cable in. After reading online about warnings of destroying floppy drives and controller cards by plugging in the cable backwards, I spent a bit of time double-checking that I was plugging the cable in correctly. It was a good thing I did double-check – the pin 1 identifier on the connector was wrong! The ribbon was correct – the brown wire was pin 1.
Once plugged in, I powered up, and jumped to the boot code at E800. Success! Drive 1 started to spin and the LED lit up! Now came the difficult part. Any NorthStar Horizon collector will tell you that the hardest part about bootstrapping the machine is the fact that the floppy disks are hard sectored. It is highly unlikely that you’ll haver any other machine around that can write these disks, so creating a boot disk is a challenge.
Thankfully, Dave Dunfield has done the hard work by making a neat bootstrap stub that talks to a DOS utility for reading and writing NorthStar disk images. This is the whole reason I needed to install the monitor ROM in the first place – the monitor ROM is the absolute minimum needed to get code in to the machine. Dave provides instructions for getting his DOS utility to pretend to type in his bootstrap stub into the monitor prompt.
I spent way too much time trying to get various virtual machines to run the DOS program, but with no success. To be fair, Dave does warn users that anything newer than Windows 98 will have problems, and I can confirm this 🙂
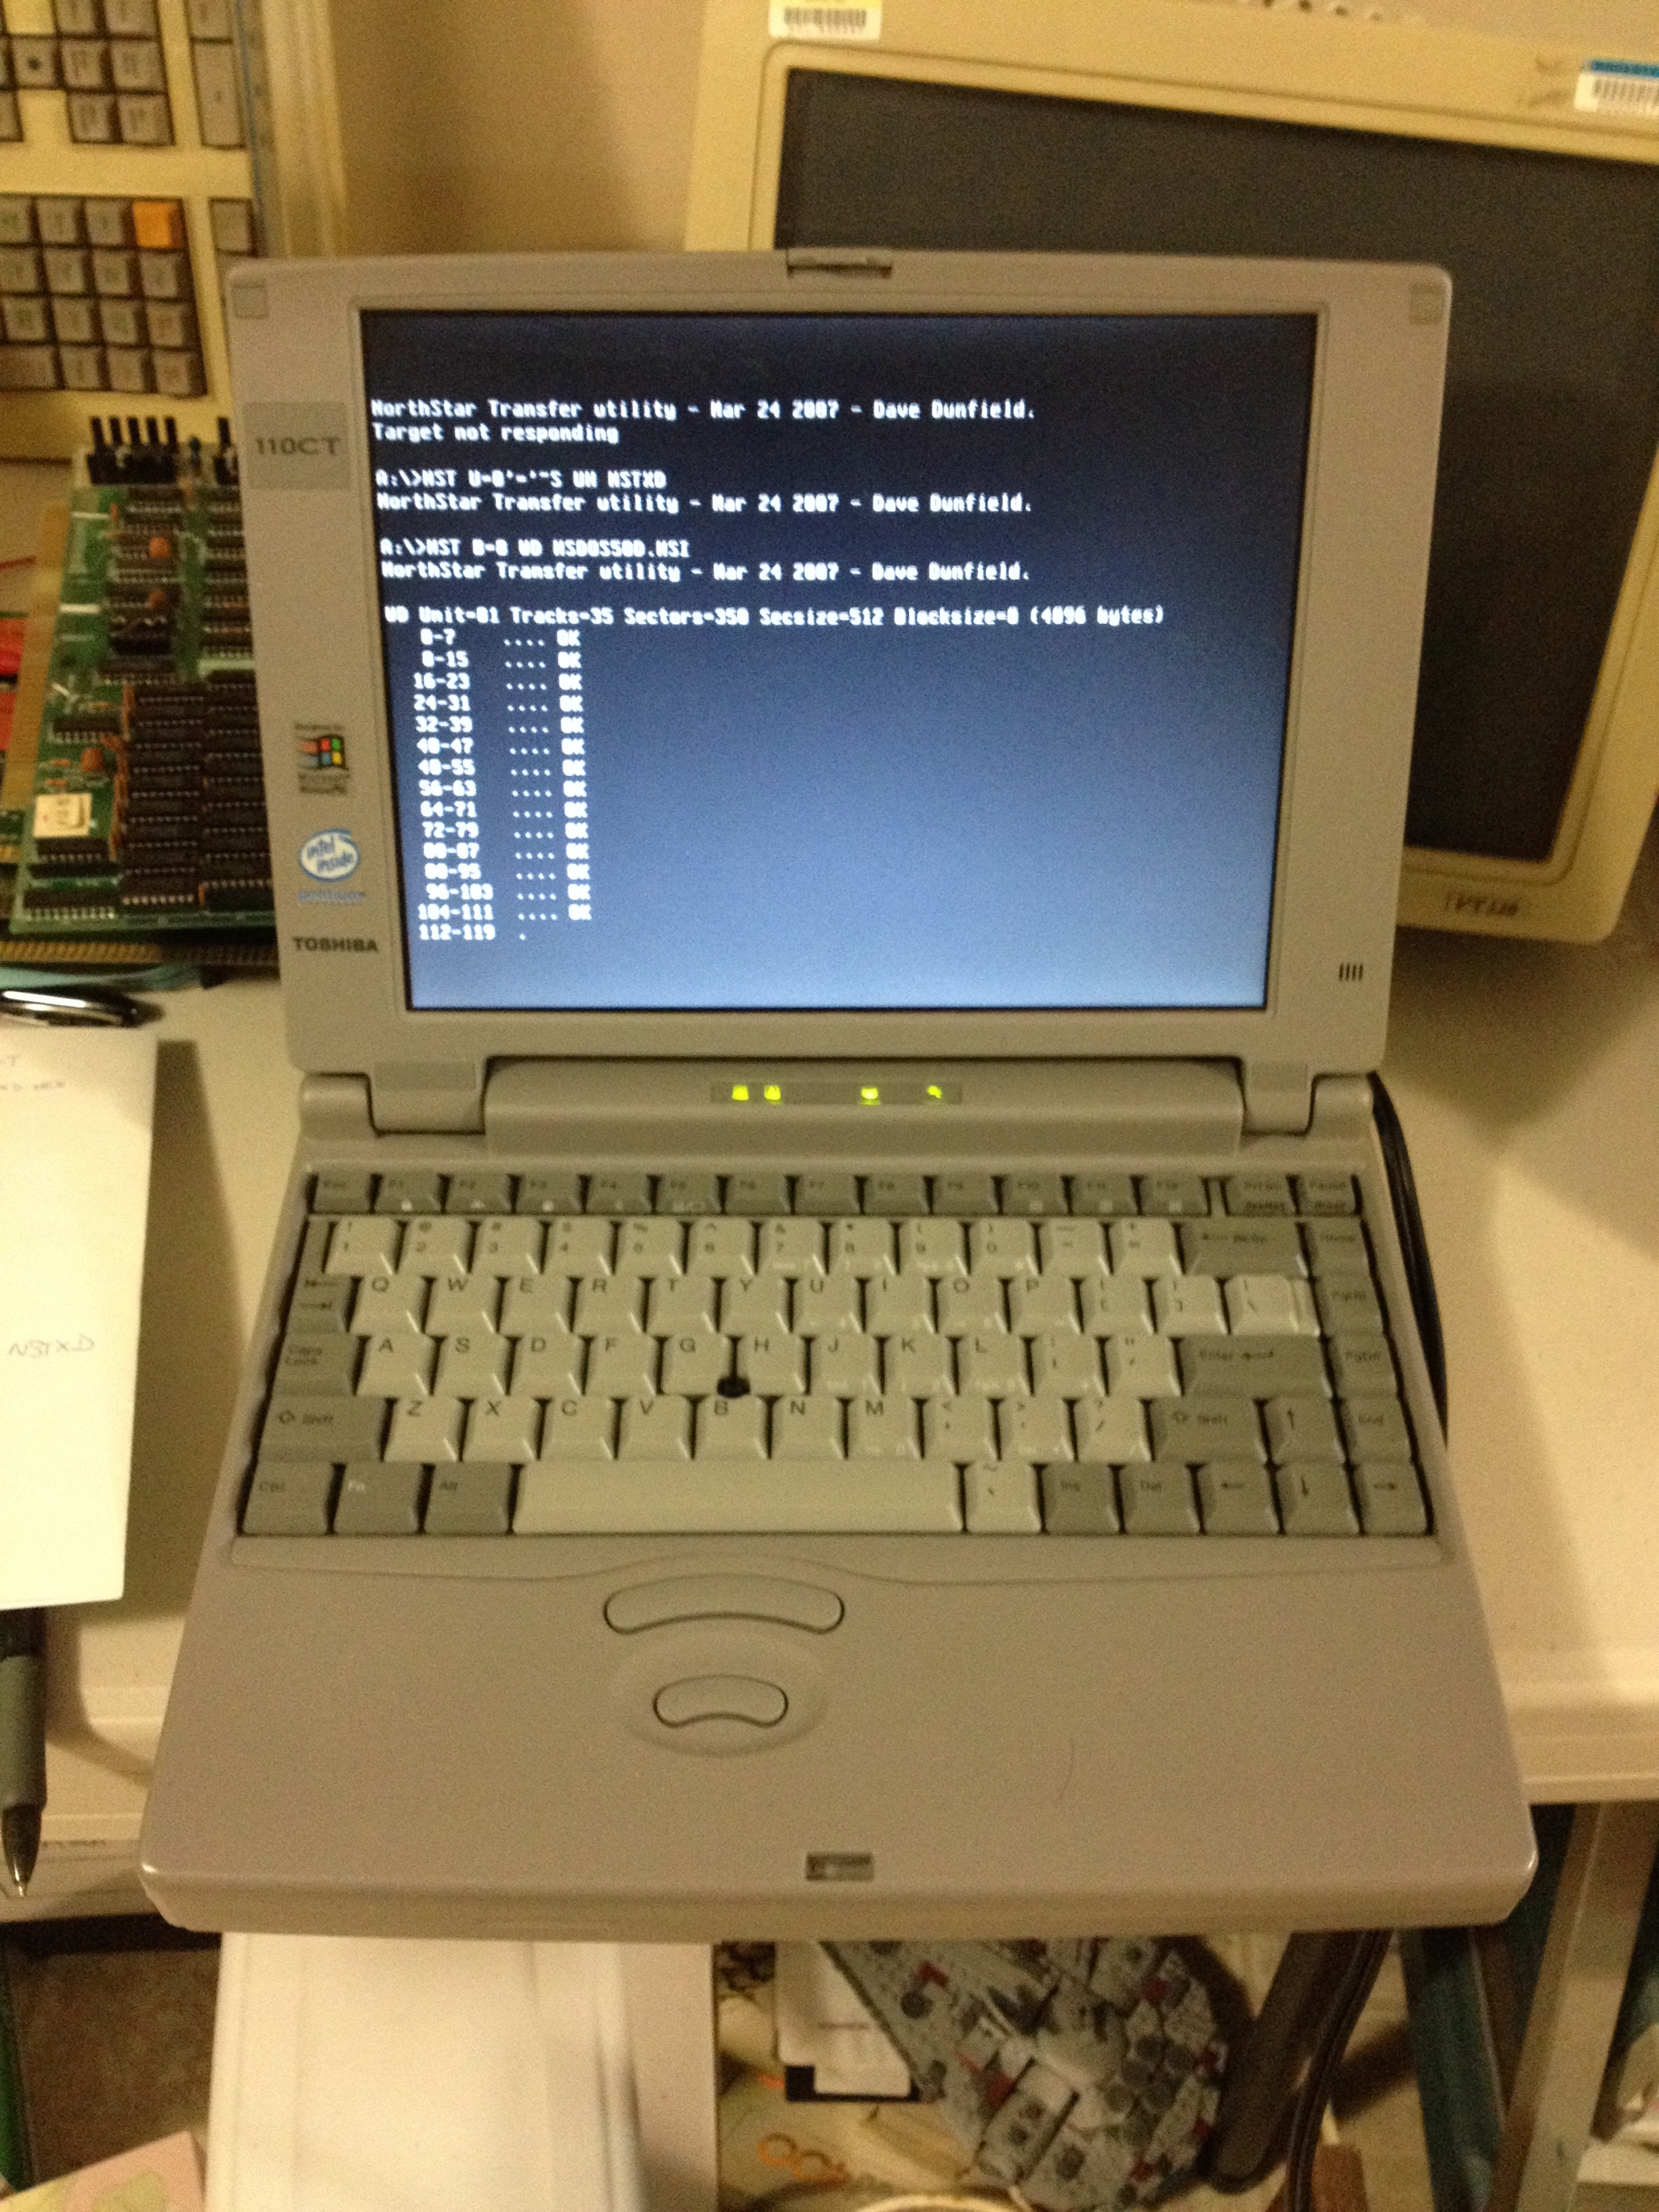 I ended up digging out an old Toshiba Satellite 110CT laptop (with broken hard drive and dead battery). Of course I had no boot floppies for this machine, so I had to pick up a USB 3.5″ floppy drive for my Mac to write a DOS 6.22 disk so that I could boot the DOS laptop so I could use it to boot the Horizon!
The first disk I was able to make with this setup was NorthStar DOS. A quick toggle of the reset switch, and my NorthStar booted NorthStar DOS! A few minutes of playing confirmed my suspicions of NorthStar DOS – it’s weird.
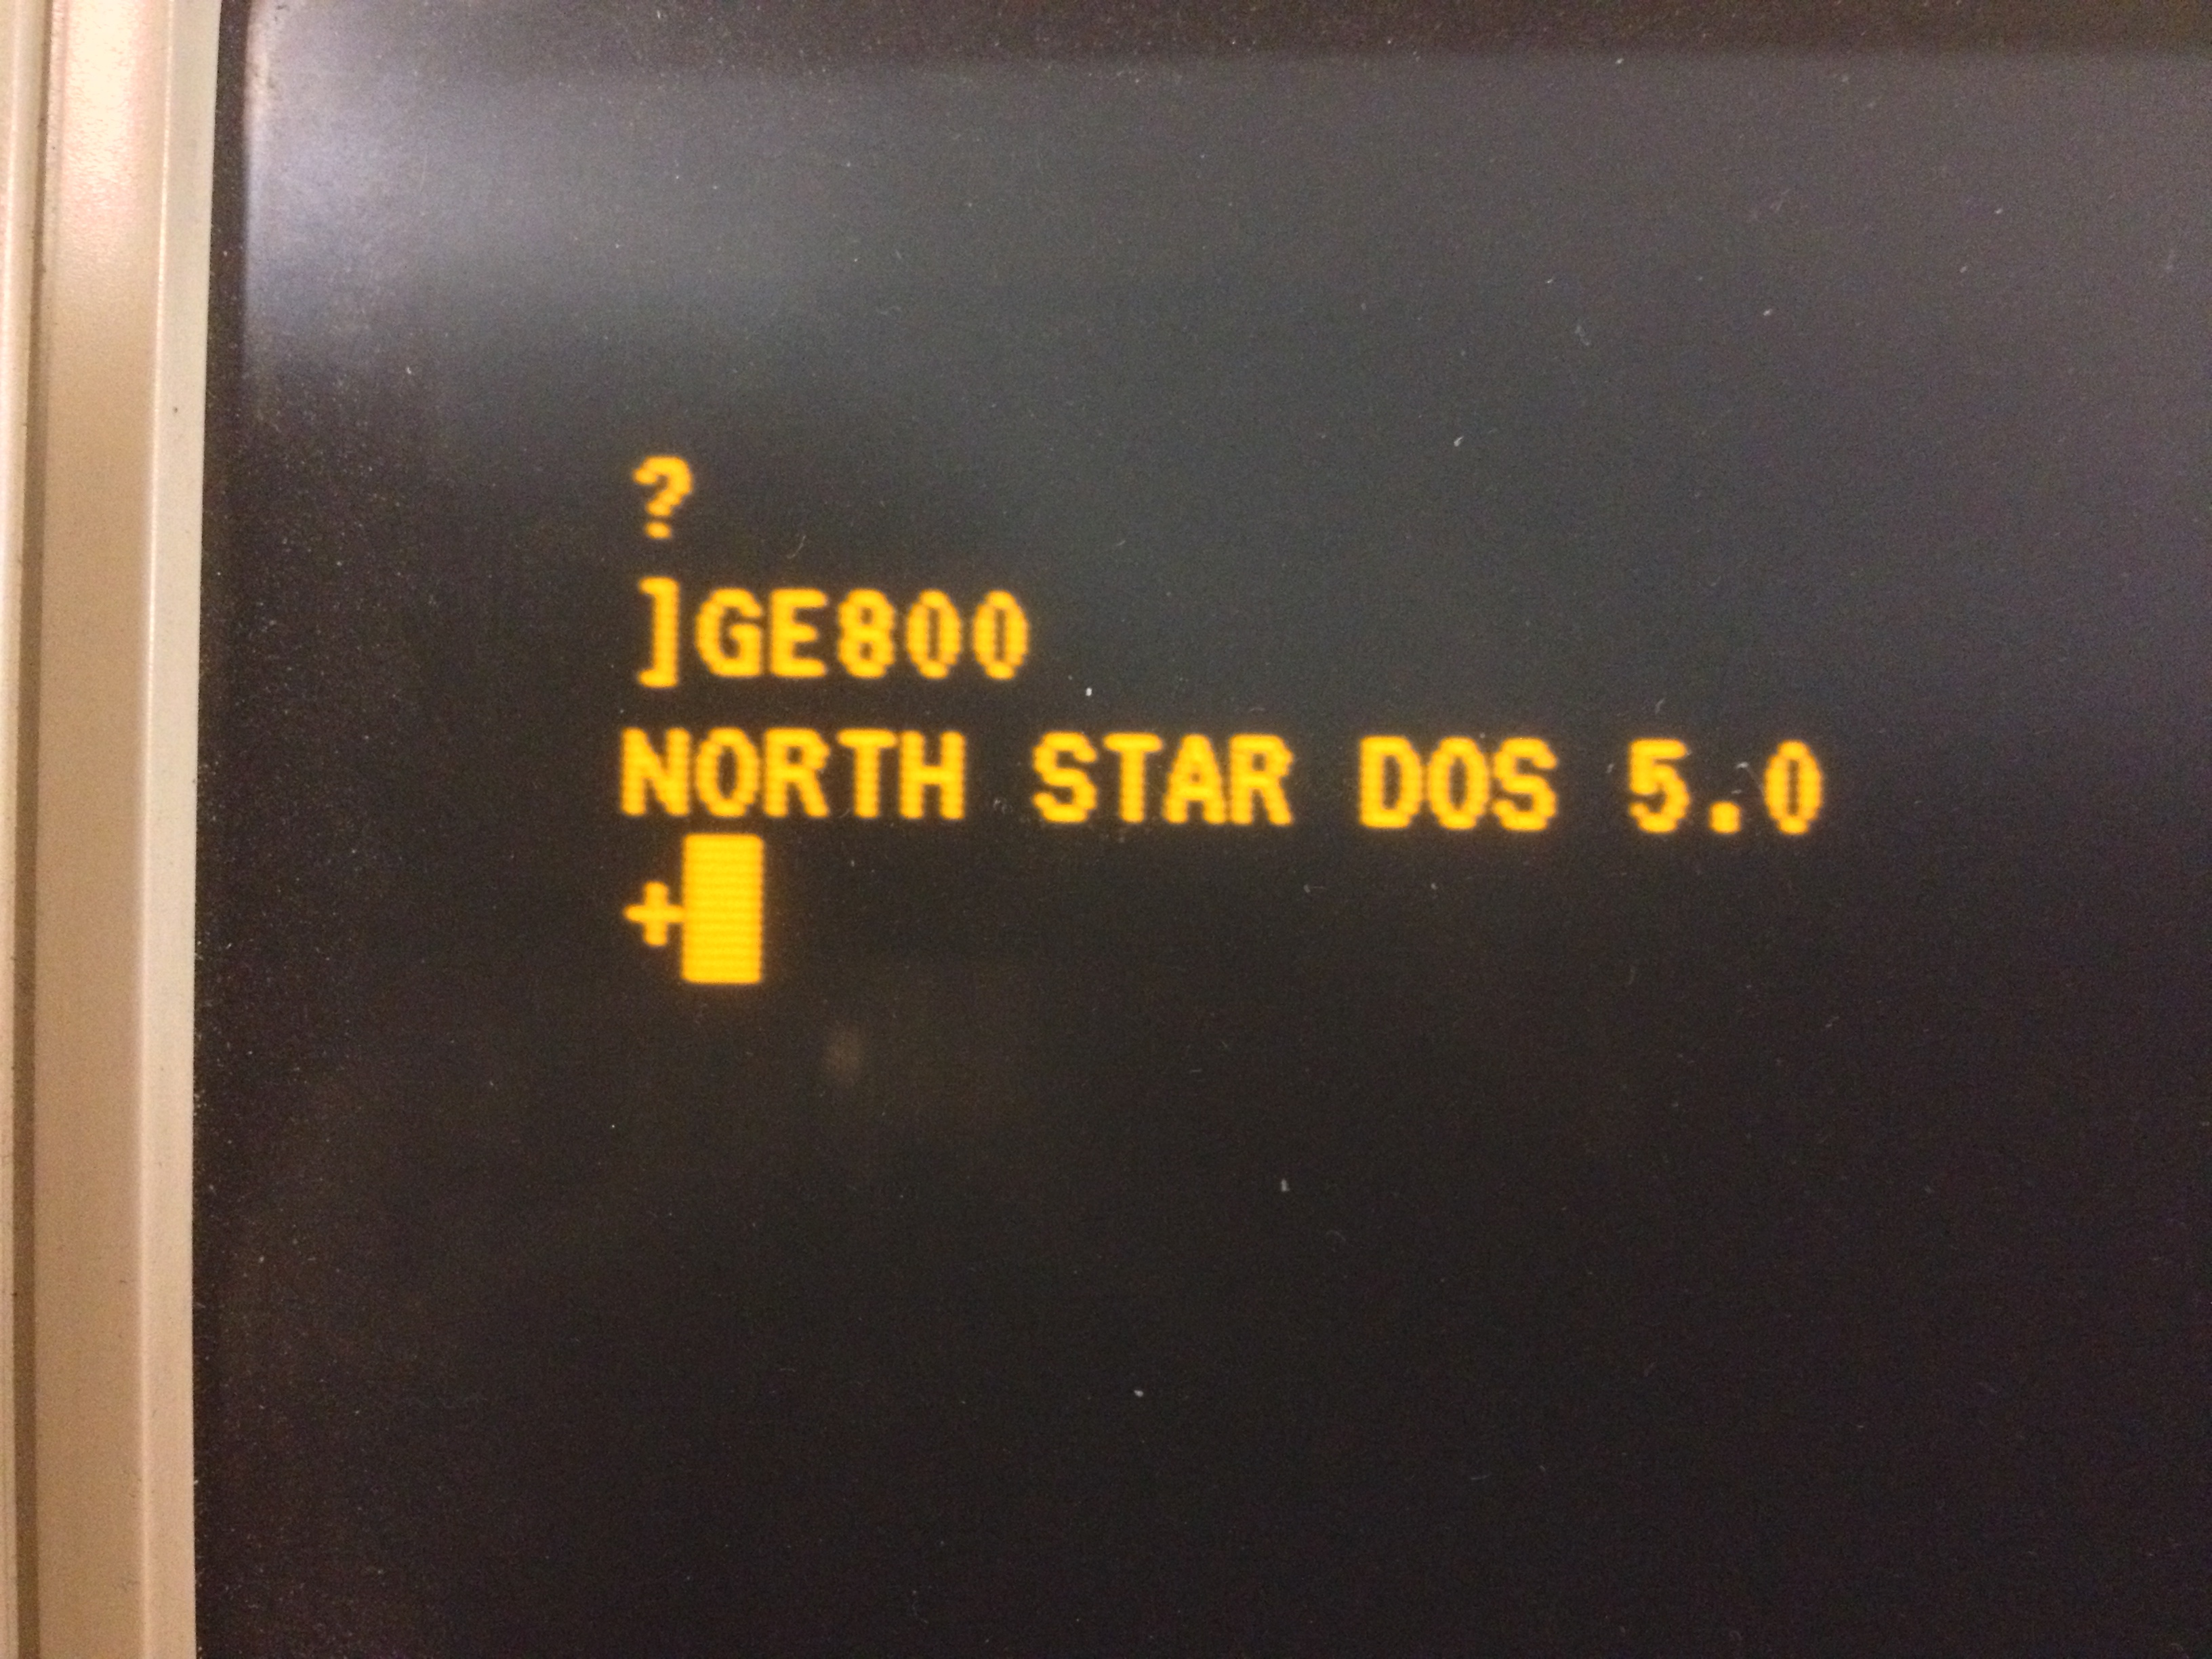 For 1975, I’m sure it was quite powerful, but having to allocate sector ranges for each file is a bit tedious. I played with it long enough for me to comfortably say that I’ve tried it and it’s not my cup of tea.
The next logical step was to try to get CP/M up and running. Knowing that I had double-sided double-density drives (called Quad Density in NorthStar lingo) I tried to write a CP/M disk that was in QD. This failed half way through every time I tried it. I was unable to get Dave’s software to write a double sided disk no matter what I tried. A bit more digging, and I found a single-sided CP/M image. This disk wrote successfully, and I was greeted with the friendly A> prompt after rebooting.
 I configured CP/M to recognize double sided double density drives, and I was able to successfully format, write and read double sided disks. Thankfully it’s just Dave’s software and not a problem with my double sided drives.
As can be seen from the screenshot, there’s precious little utilities included on this disk, but apparently I’m supposed to be able to use PIP to read in a HEX file over the serial port, then use LOAD to write it to memory, which I can then save to disk. I will need to do this to get Kermit-80 in to the machine, which I can then use to get anything else in there that I need. Only a couple more days left in the Retro Challenge. Am I going to be able to get the modem running in time? Doubtful…